Scenes serve as a simple way for you to group and organise the various steps within your workflows and the customer experience. Scenes not only allow total control over the order in which steps are displayed, but can be moved in the workflow editor as a complete group, letting you adjust the customer experiences instantly.
Scenes not only improve your own experience in the workflow editor but also make the overall customer experience easier to understand, and much more chronological.
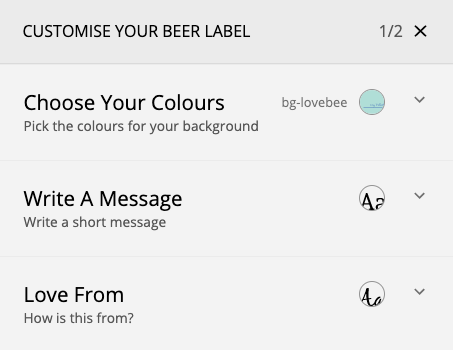
With scenes, you could group steps together based on the location of your products. For example, if you want the customer to personalise the front of a greeting card, you can group all those related steps together in one scene, and then separately have another scene for the back of the card. Another great use-case is grouping specific step types together, if you want the customer to add all of their colours, then all of their text in another scene. There are no limitations.
Creating Scenes
In order to create scenes, first navigate to your workflow via Content>Workflows, and search for your applicable workflow.

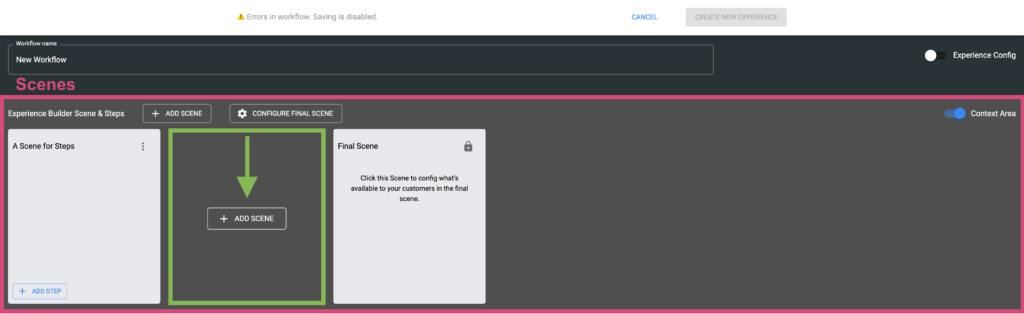
Open up your workflow by clicking on it and then observe the scenes section of the workflow editor. Simply click the “Add Scene” button to create a new scene.
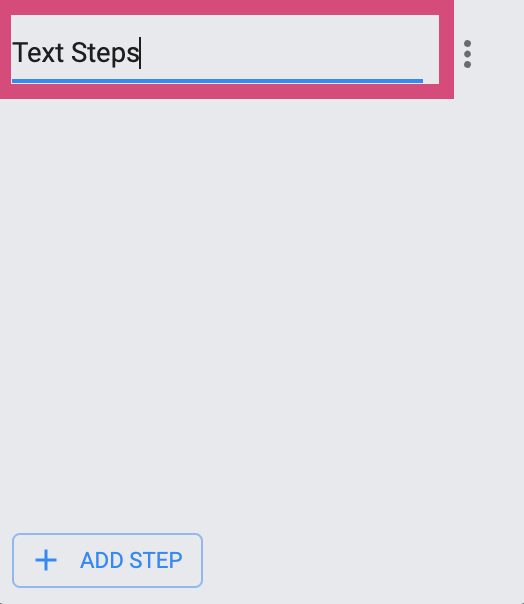
After creating your scene, change its name to something applicable by clicking the text box above it.
Arranging Steps and Scenes
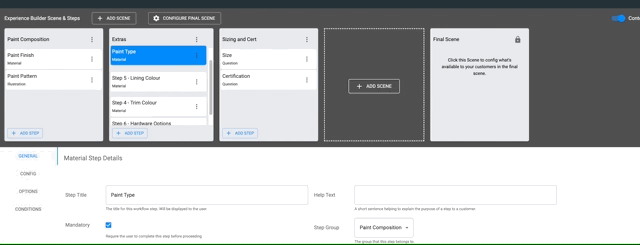
Simply click and drag on each individual step to move them between scenes and order them as desired. Like the steps, the entire scene can be moved and re-ordered too by clicking and dragging.
Once you are happy with your scenes, steps, and the order in which everything sits, simply save your workflow and the changes will be reflected in the customer experience.
Steps will appear in your scene under each other chronologically, according to how you position them within the scene itself. See the below image, it’s scene contains a colour step that has been added to the scene in the workflow editor, and below that, two text steps.