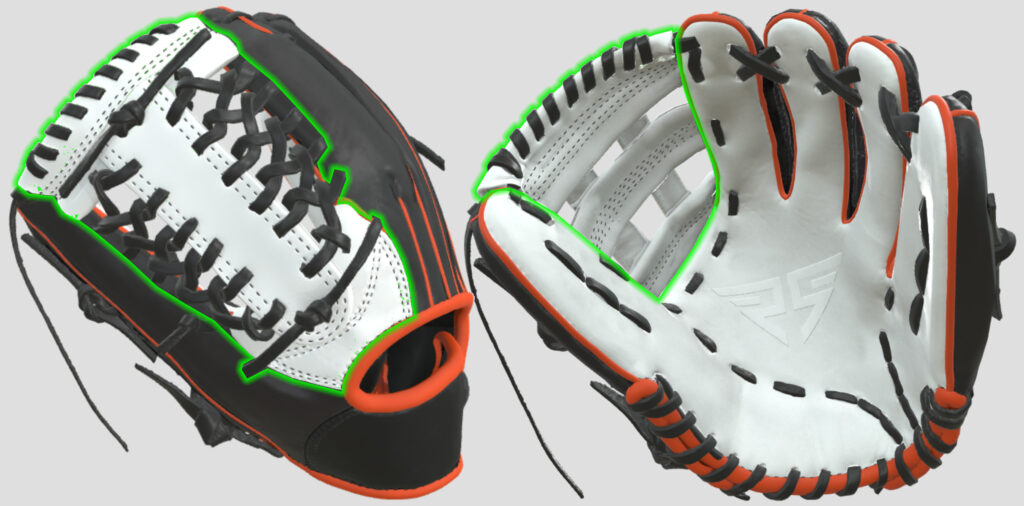
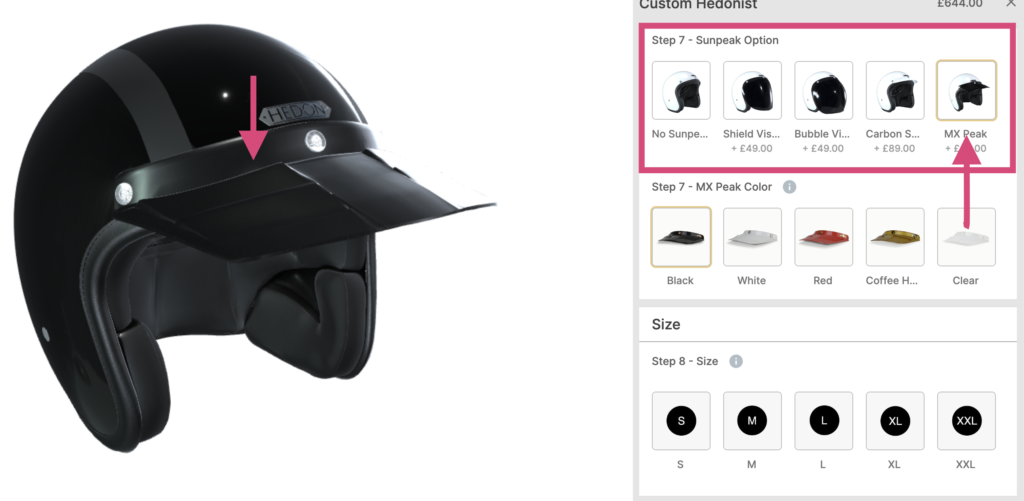
As opposed to product models displaying a single 3D model for the entire experience, the model step instead is used to display and present physical variations/selections onto your products, rather than just design elements. It can even replace the entire product 3d model where applicable. This step is an invaluable tool for your 3D-enabled products and workflows. For example, you may sell a completely bespoke motorcycle helmet, you want your customer to control all aspects of its design. This is possible with the model step. Different visors, trims, vents, and even shell types could all be added with ease. What if you want to start with a dirt bike-style shell? or maybe a typical street shell. This choice could easily be presented to your customers with this step.


Step Settings
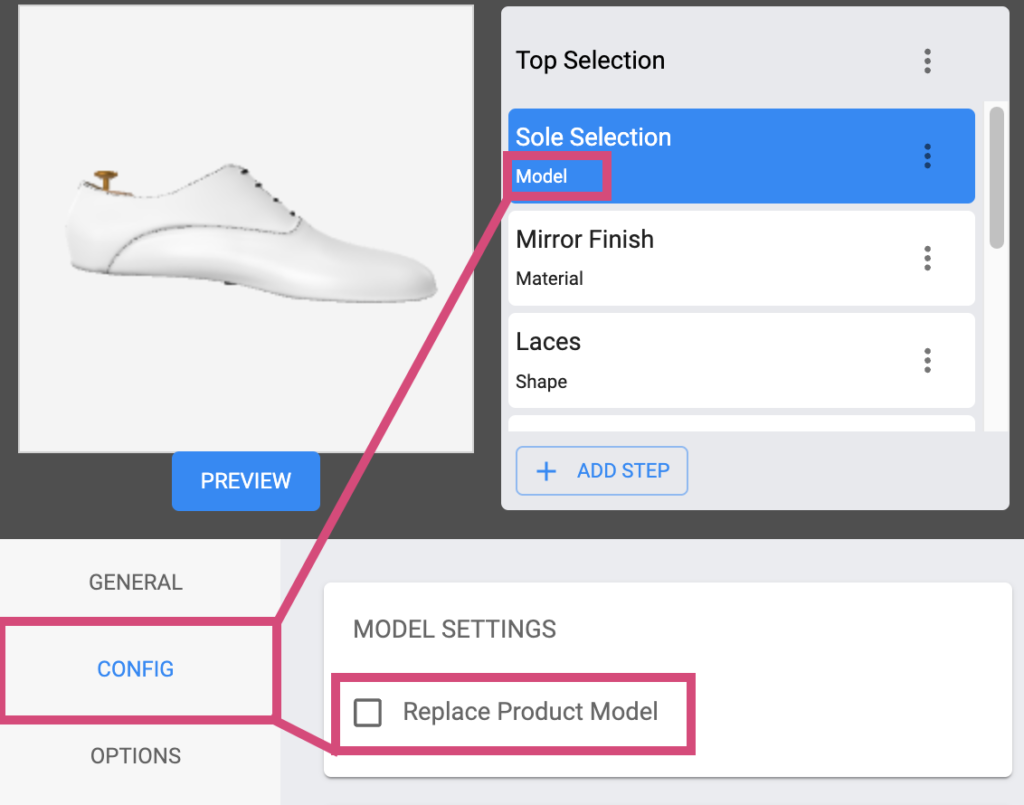
Expanding off our workflow’s universal step settings, the model step itself has only one extra configuration. Located in ‘Config’ within your selected model step, you can see the ‘Replace Product Model’ toggle. Using this toggle, your step will replace the entire product 3d model with the variations selected by the consumer in this particular step. This is useful in many circumstances. For example, you sell a bespoke hooded jacket and want the first model step variations to be a choice between a zipped or zipless hoodie. Since the jacket is physically different in some sections, the ‘replace product model‘ toggle would be used, as opposed to just adding pieces on top of your product, like zippers, clips, laces etc.

Assets
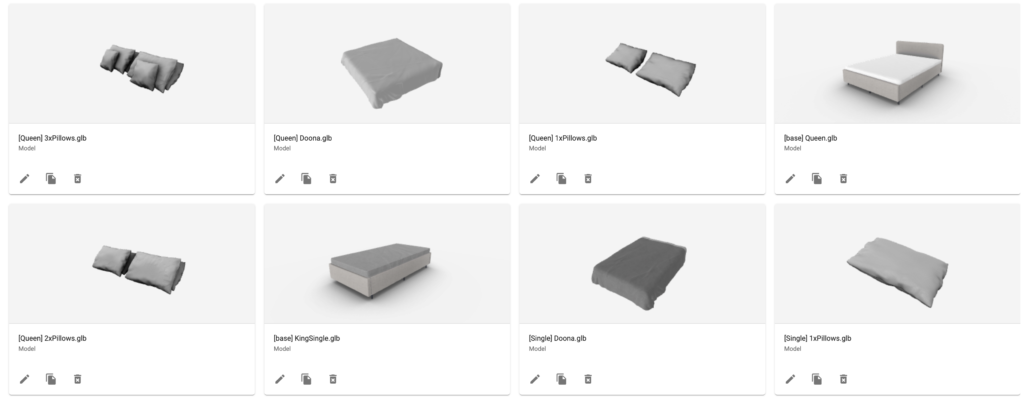
Assets for your model steps, need to be set up correctly by you or your 3D artist in order to display your product appropriately. Add Assets for your model steps in the Spiff Hub Asset Manager via Content>Assets>Models.
Visit the Assets page and navigate to 3D models for more info.

