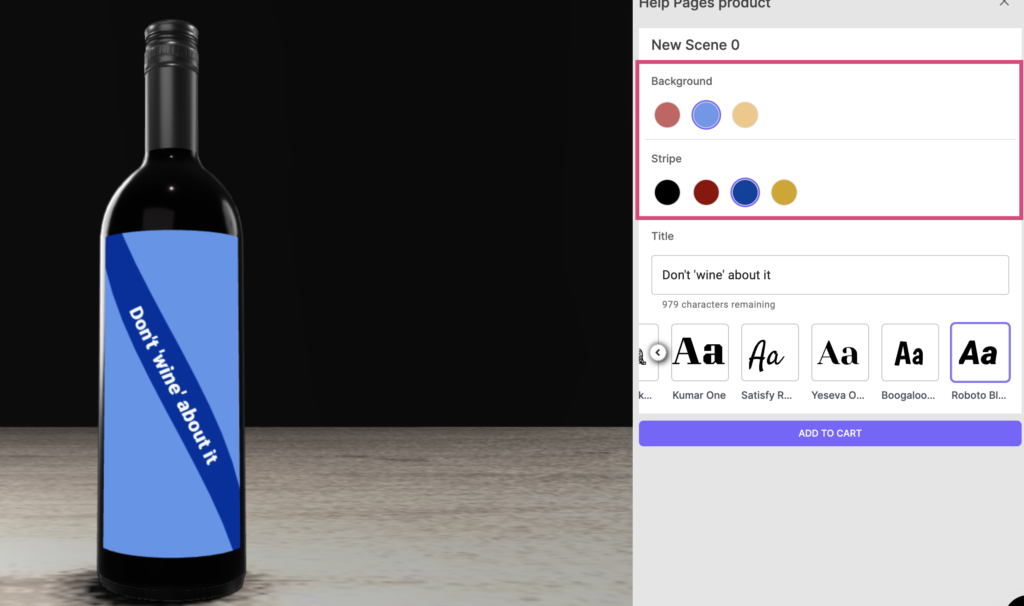
The Color Step, formally known as the “Shape Step”, serves as a way for you to fill regions/spaces on your designs with a selection of colors that you offer to customers. Often used to fill backgrounds of labels and print areas, the color step can even be used to change the color of entire components of your 3D models, if applicable. For example, we want to create a wine bottle label that has a background color, a title text element that sits above a coloured stripe, and on top of this, we also want the customer to choose from a variety of bottlecap colors for their wine. These three examples and more are solved simply with the colour step.
Adding the Product Overlay Step
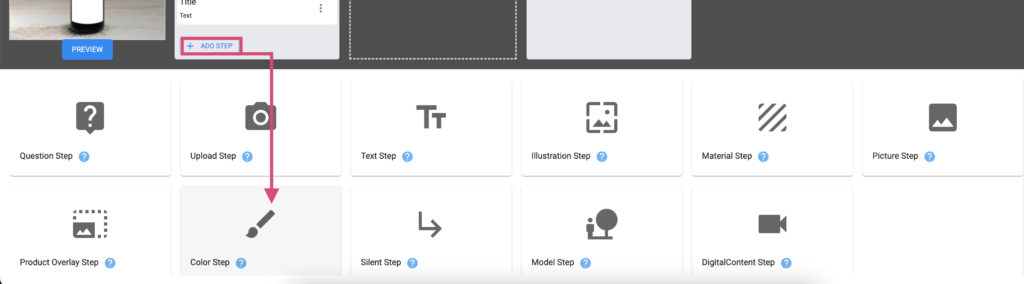
Let’s start by adding our new step. Navigate to your applicable workflow, open it to edit, and then use the “+ADD STEP” button within the applicable scene, then choose the “Color Step”.
Color Step Config
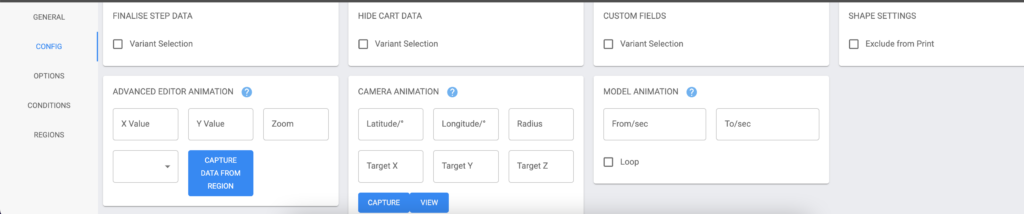
Unlike some other Step Types, the Color Step only has one unique configuration setting within its “Config” tab. The ‘Exclude From Print’ toggle will prevent this step’s variants/elements from being built into the final output file once an order is placed.
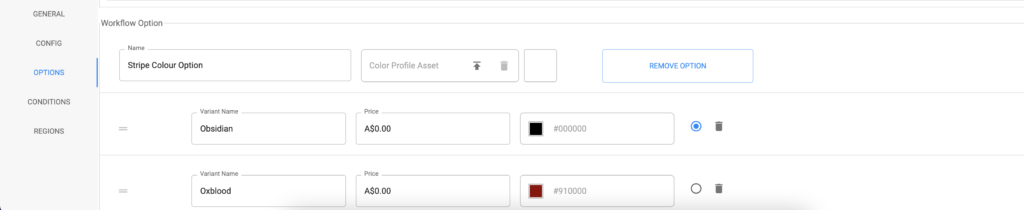
Color Step Options/Variants
The Color Step is unique with its Options and variants. Rather than using an external asset from the Asset Manager in the Spiff Hub, the Color Step instead uses a hex code value as a variant/asset. Color step options can also be built externally with Shared Options.
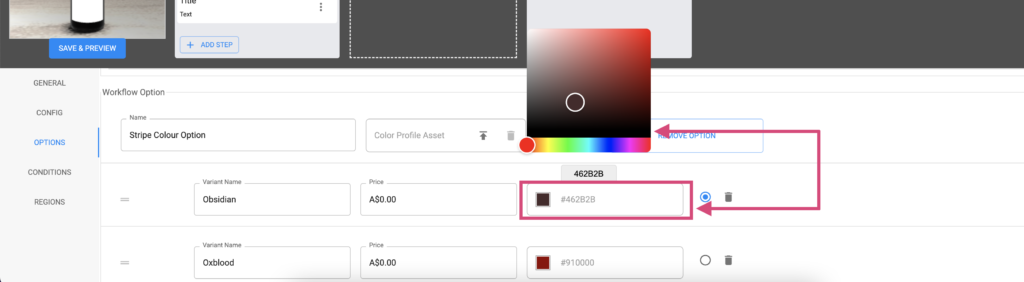
Once you have added and named your Variants in your Option, simply click onto the hex element of each and use the color picker to select your colour choices. Typing a hex value is also possible, through the box below the color picker, and as always, remember to save your workflow once you’ve finished.
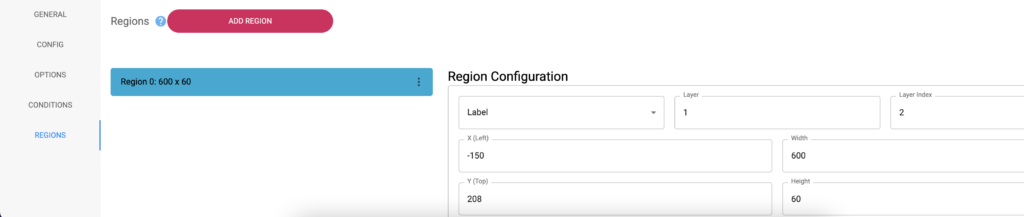
Color Step Regions
It’s important to note that the Color Step operates as a ‘fill’ process, meaning that whatever size your regions are, they will be entirely filled with the color selection from your Color Step. For example, a color step with a region size of 50×150 will create a rectangle-shaped box, filled with any selected color in the exact size you listed into your Panel.