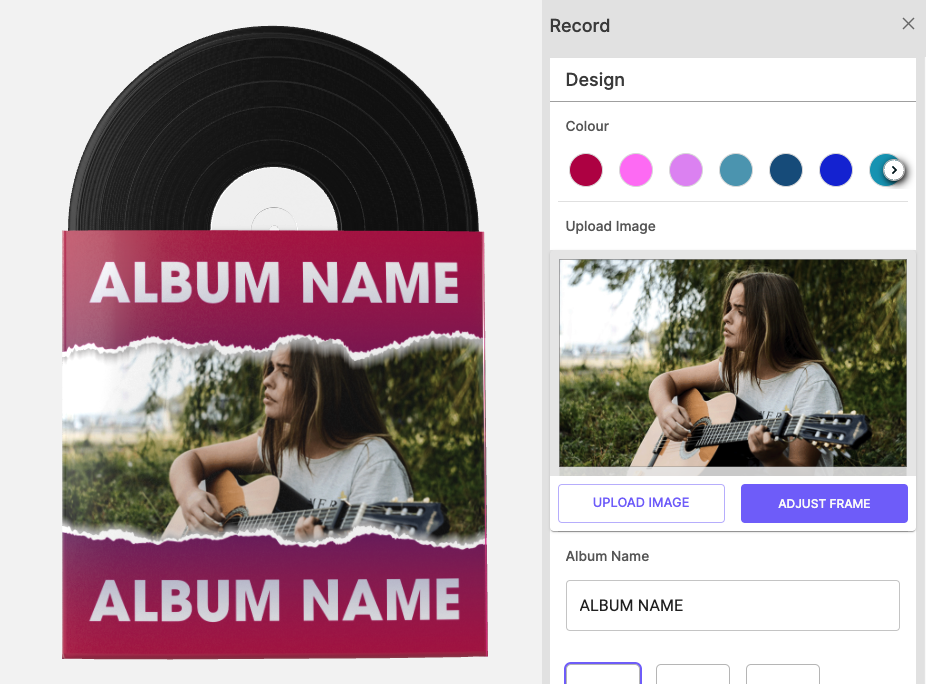
The Upload Step, otherwise known as the “Frame” step, allows you to define areas anywhere on your products in which your customers can upload their own images or SVG assets. Adding logos, photos of friends or family, or anything else, the Upload Step adds a valuable and powerful layer of personalisation to your customer’s overall design experience.
Adding the Upload Step.
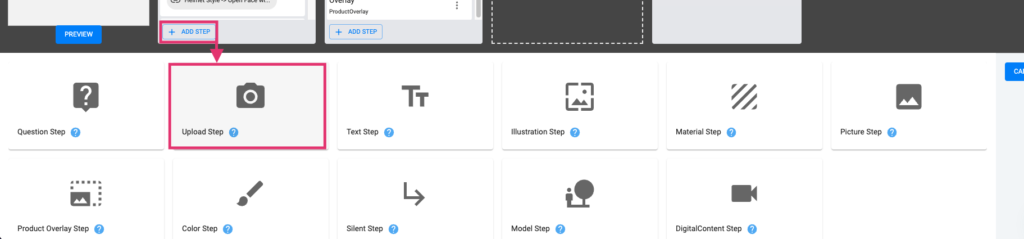
Let’s start by adding our new step. Navigate to your workflow and add the “Upload Step”, via the +ADDSTEP button within one of your workflow’s scenes. See below.
Once you have added your step, fill in all relevant information such as your step name and help text in the “General” tab.
Upload Step Config
Aside from the universal config settings outlined in the Step Config documentation, there are a few specialty configurations within your Upload Step that we’ll cover here.

Force Image Cover
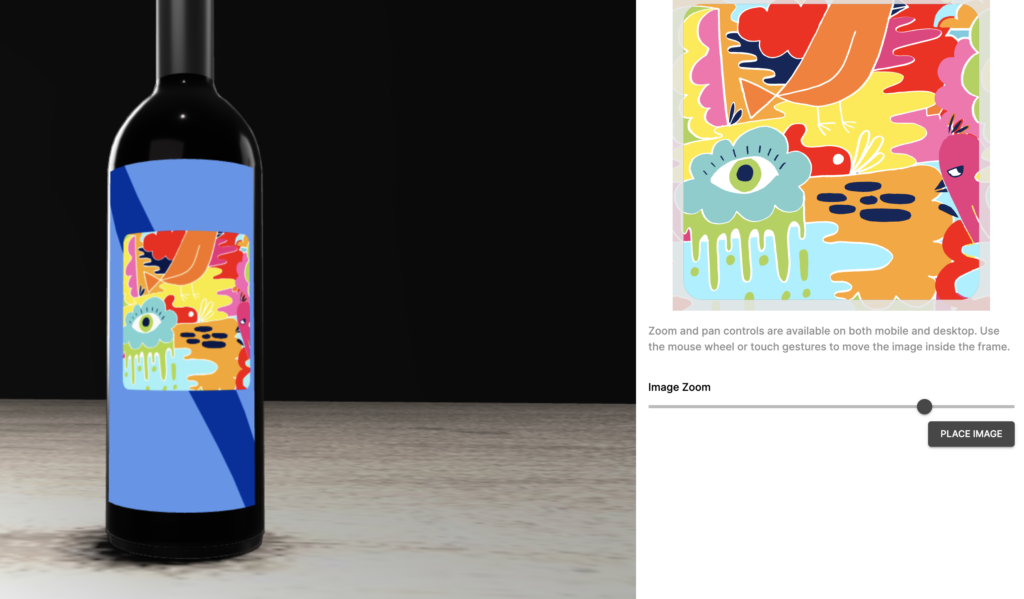
With the “Force Image Cover” checkbox selected, any images that the customer uploads, regardless of adjustment, will always cover the entire upload area or frame area. This is great for logos and other square images, though this may not be ideal for rectangular images such as landscape or portrait images that may need to be zoomed in/out (Unless your regions are set up for it). Without this setting enabled, customers can adjust their uploaded assets smaller than the region/frame, which may be ideal or unwanted depending on what personalised designs you offer.
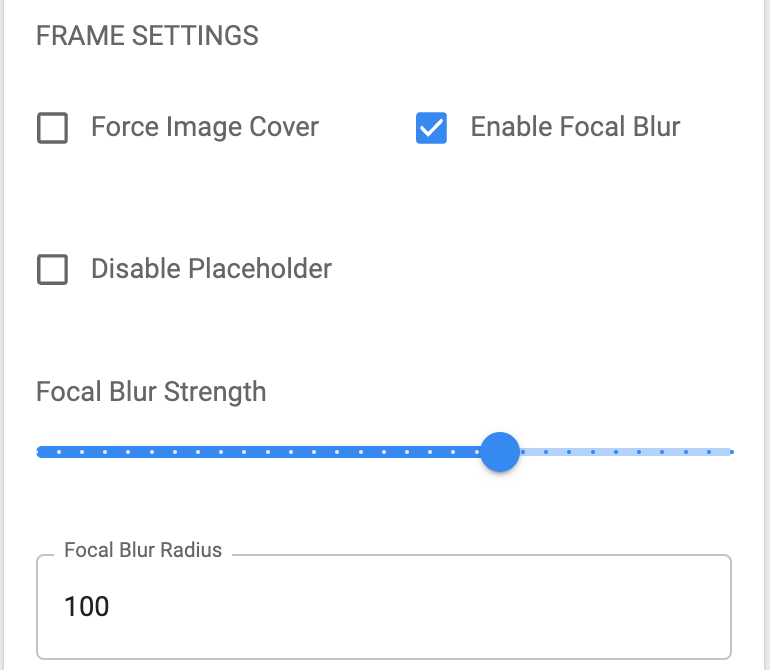
Enable Focal Blur
With Focal Blur enabled, a radial blur effect will be applied to any images that the customer uploads to this step. Anchored to the centre of your step’s region and frame, the strength of the blur, as well as the size of the radius can both be configured.
Disable Placeholder
The default image, or the ‘placeholder’ in any Upload Step, the standard “UPLOAD IMAGE” asset, can be disabled with the Disable Placeholder checkbox, so rather than displaying this default asset over the entire Upload Step region/frame, it will be left blank. For products that don’t necessarily need an uploaded asset, this may be ideal, so if the step is unused, nothing will appear. Functionally this does not change the Upload Step, only how it initially displays. See the two images below.

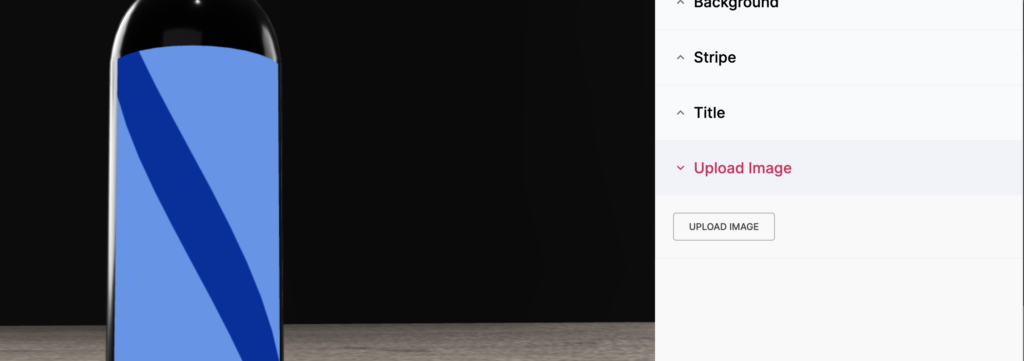
Overlay
Overlays can be added simply to the Upload Step. Whether it’s your company logo or anything else. Use the Overlay upload section to choose from one of your uploaded Image or Illustration assets from the Spiff Asset Manager. This asset will only appear within the rendered step itself on the sidebar/side panel, rather than within the 3D or 2D view of the product – this asset will not appear directly on the design etc.
Custom Placeholder
Rather than the default “Upload Image” placeholder asset, described in the disable placeholder section above, you can choose your own default image. Oftentimes you may want use your own logo asset or a more visual default asset that matches your own designs more adequately. Simply use the Custom Placeholder upload area to choose from one of your uploaded Image or Illustration assets within your Spiff Asset Manager.


Upload Step Options
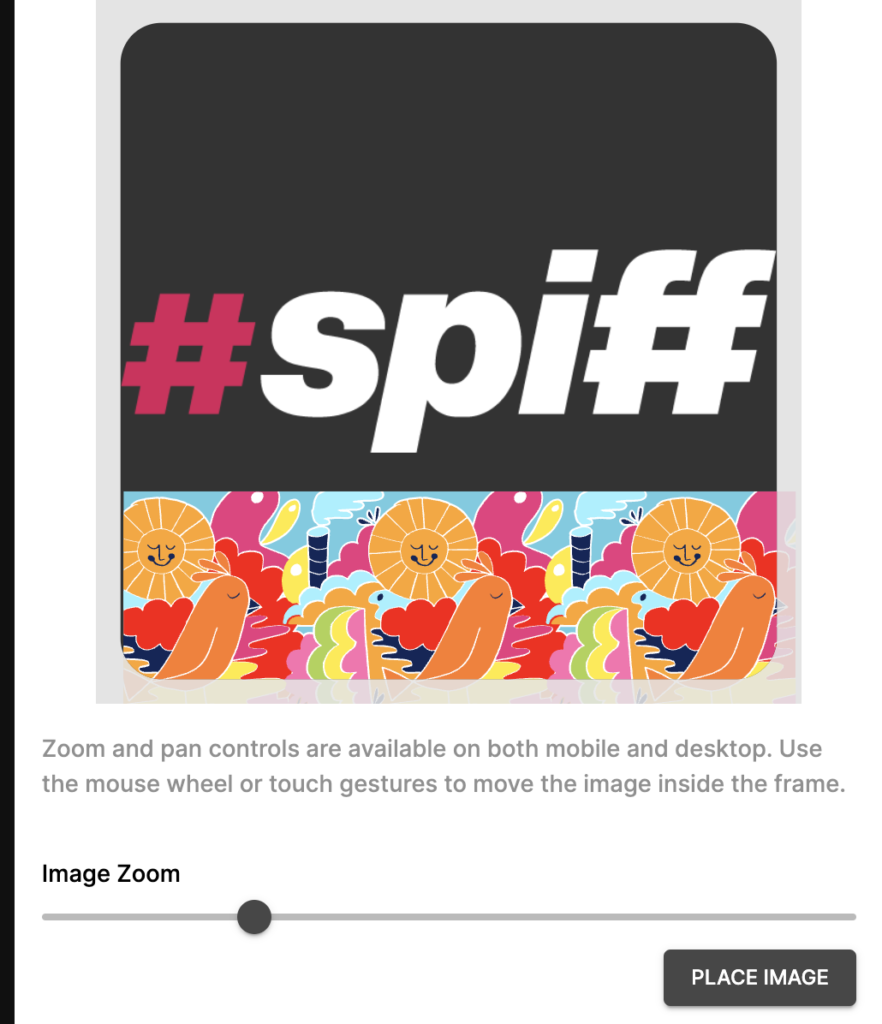
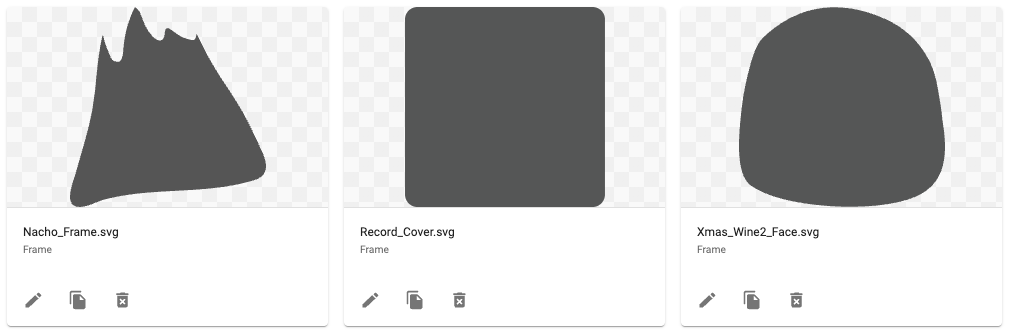
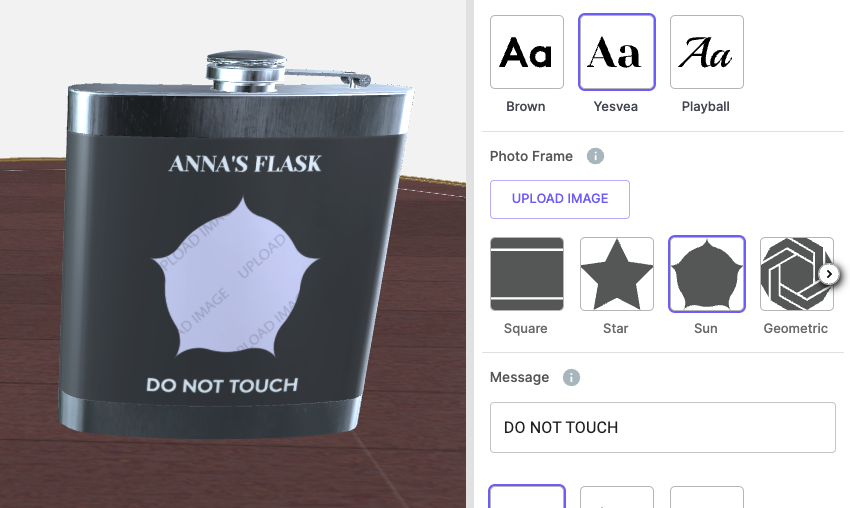
Options for the Upload Step, found in the ‘Options’ tab on the left, behave exactly the same as other option-capable steps and likewise can use shared options. The Upload Step uses “Frame” assets/variants – an SVG file that will determine the shape and area for uploaded images. Read more about options here.
Although upload steps don’t require you to use a Frame, they can add a lot of impact to a design. If you want a certain upload shape you can choose from our public Asset Gallery or you can create your own. If you only want your upload area to be a square or rectangle shape, you don’t need to use a Frame. The uploaded assets will be cropped/bound to these frames and will be applied to the product in the same way in the final design/output files.
Regions for the Upload Step
As explained in the Regions and Panels documentation, your region will determine where your Step Assets and how large they will appear – In this case, how large your upload area will be. Access this via your step’s “Regions” tab.
