The Material step is used to apply material sets onto your 3D models within the customer experience. This allows you to adjust the look of the 3D model’s surfaces entirely. This is extremely useful in cases where you offer your customers a selection of different fabrics for your products or even offer different embossing options for existing fabrics. For example, you may sell pairs of leather shoes. Within your customer experience, you allow them to choose the embossing of the shoes in various sections. With material steps, a material asset is applied from each variant that you add. Aligator embossing, cross-hatched – even a woodwork style embossing could be used. Any surface-related changes that you need to present to your customer can be done with the Material step.

Adding Steps
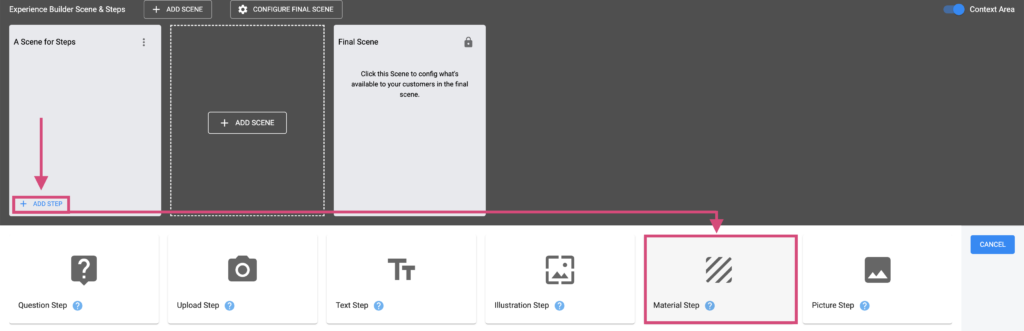
Let’s start by adding our new step. Navigate to your applicable workflow and add a “Material Step”.
Material Step Config
Apart from the universal config settings explained in the Step Config documentation, the material step has only one unique feature. The “Target Materials” work similarly to the Panels system found in the experience config of your workflow. The Target Materials allows you to connect this step directly with a material attached to your 3D model. This is an essential configuration for this step, without the connection, the step cannot apply your variants to the model material.
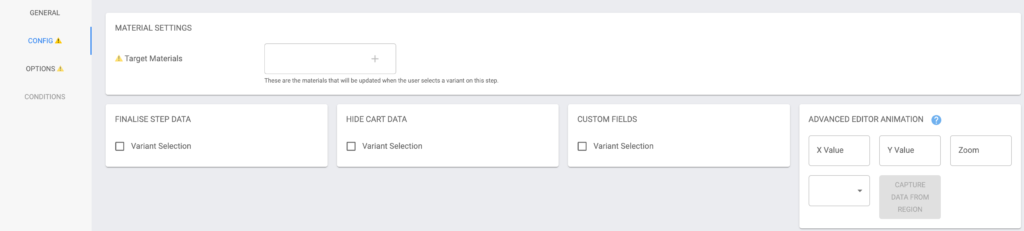
To connect this step to your material(s), simply use the entry box and type in the name of the applicable material attached to your 3D model. For us, we are changing the shell material of a motorbike helmet. Our model’s shell material is “Shell”. Once you have entered your material target name, simply use the ‘+’ button to add it to the step.

Material Step Options
Options for the Material Step, found in the ‘Options’ tab on the left, behave exactly the same as other option-capable steps and likewise can use shared options. Read more about options here.
Create Material Variants for your Step
Learn how to create individual material variants/assets here.