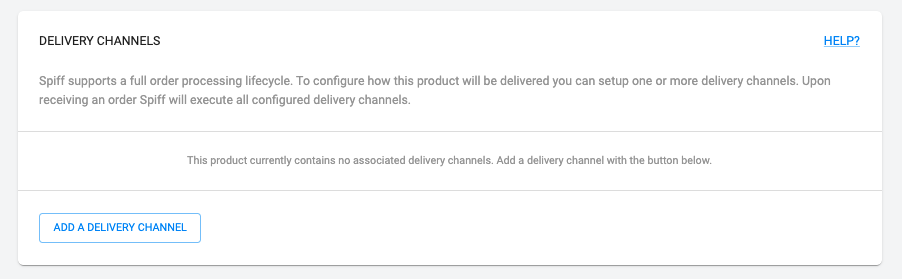
Delivery channels serve as a way to route order information and print data from a product directly to a specified location, whether as a digital address like your (Or your customers’) email address, directly to your fulfiller/manufacturer, or to a physical location such as a printer or PC configured to receive Spiff print information.
Any product can have multiple delivery channels where necessary. For example, you may want to receive order information on a few different email addresses, and further print off each order at the same time, all this is possible with Delivery Channels.
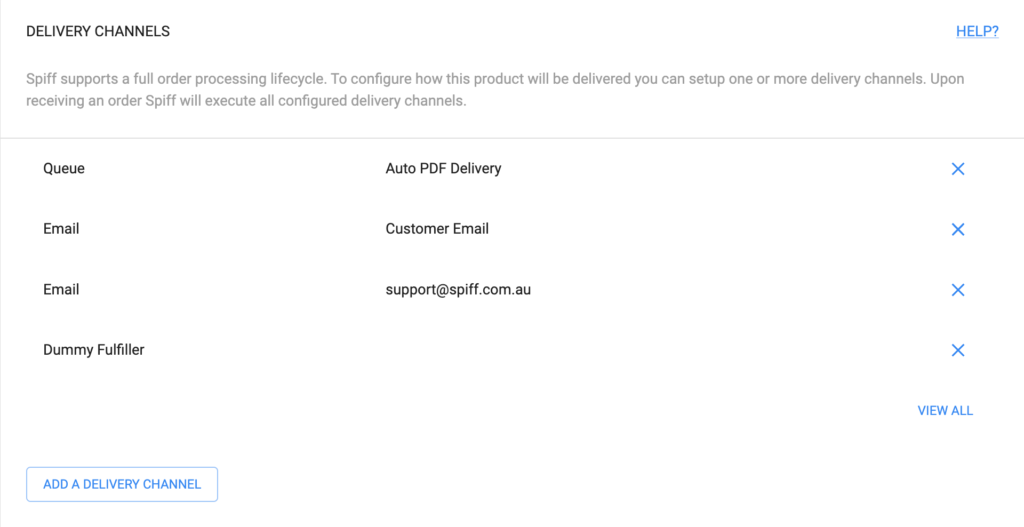
Delivery Channel Types
With the email channel type, you first have the option to add the ‘Customer’ email type, which will use the email address entered by the consumer within the experience (or you can configure your product to pull this information directly through your eCommerce sites’ cart and order information when they enter it in). Customer emails provide a helpful way to send product data and even share professional Brochures generated from the order that they can reference later on with ease, making the whole order process easier
Next, you have the ‘Partner’ email type, which allows you to enter a specific email address of your own instead. For example, ‘orders@yourshop.com’. You can send any required information from the order this way, also including any brochures or bespoke content.
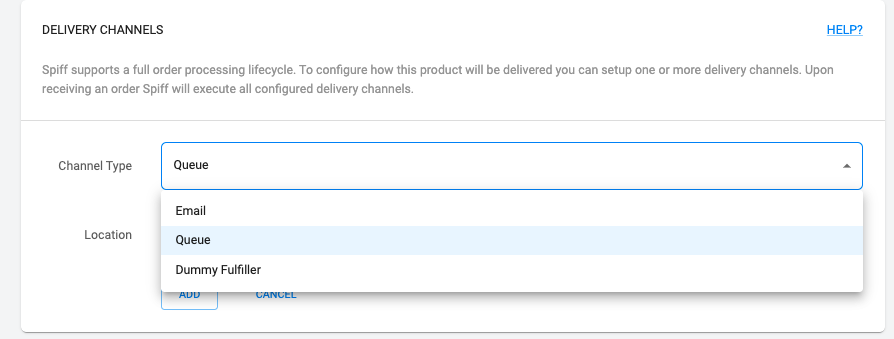
Queue
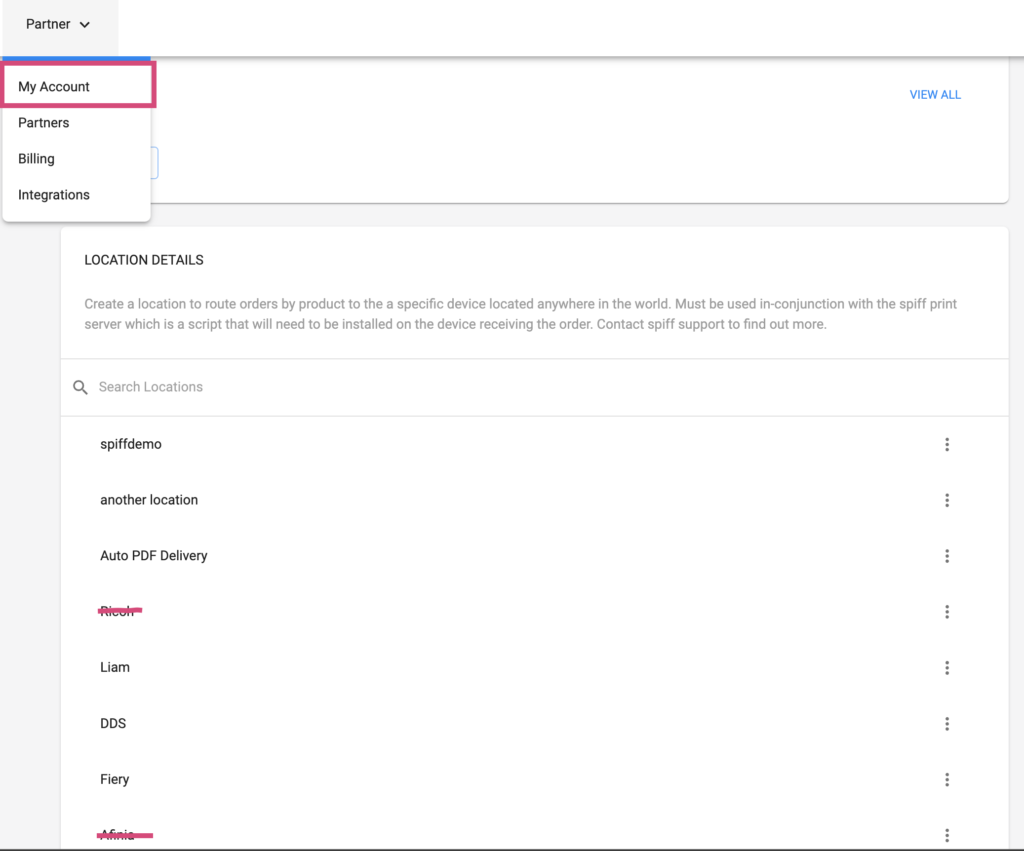
The queue-type delivery channel allows you to send print data directly to the print queue of a physical printer or windows based machine. In order to set this up, you must visit the ‘My Account’ page found within the ‘Partner’ section of the Spiff Hub, and then navigate to ‘Location Details’ and create a ‘Location’ for your printer/device. See Below.
This will also require the Spiff Print Service App, which will need to be installed on any applicable machine to receive files.
After the location is created, you can head back to the delivery channels of your product and add it under a new ‘Queue‘ type.
Fulfiller
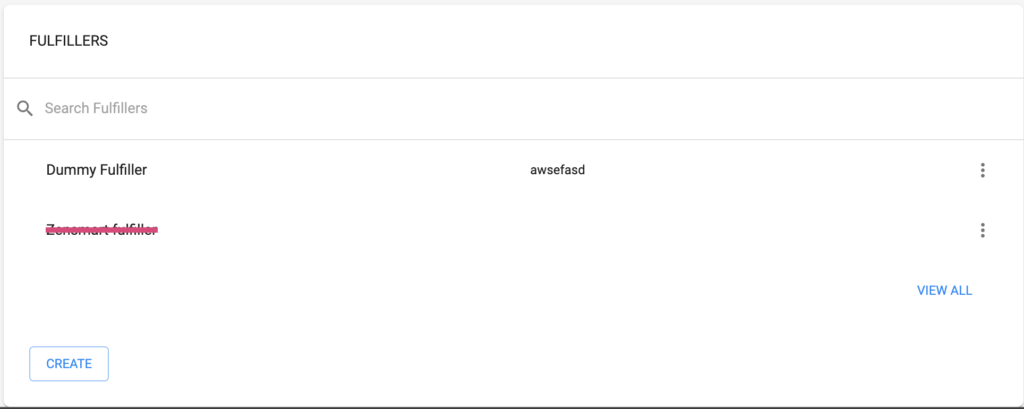
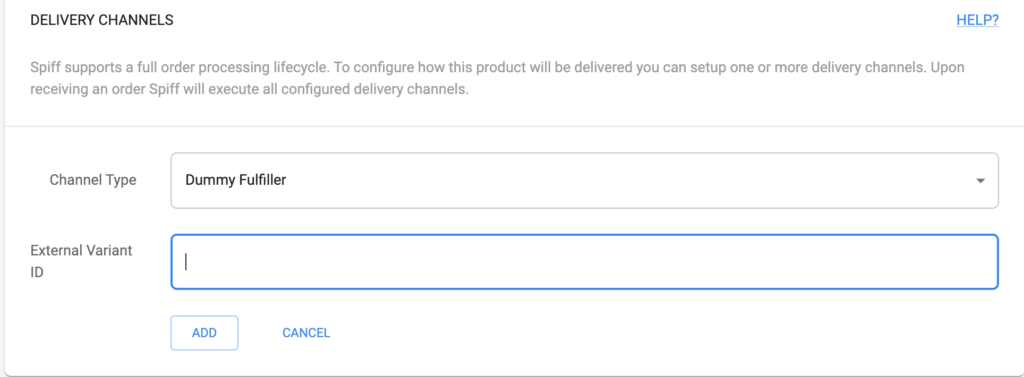
The Fulfiller delivery channel type allows you to send order information and print data directly to your eCommerce fulfiller/manufacturer, where needed. To set this up, you need to add your fulfillers in the ‘My Account page found within the ‘Partner’ section of the Spiff Hub, then navigate to and create a ‘Fulfiller’ with the appropriate access and key-in-secret information. Now you can navigate back to your product and add the fulfiller as a delivery channel type. Once this is done, you use an “External Variant ID” which is what will connect the fulfiller to the exact variant you’re wanting to be fulfilled. See Below.
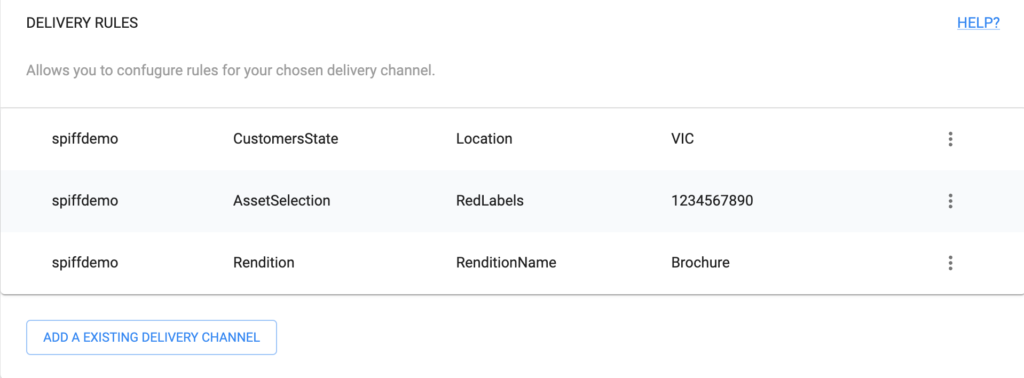
Delivery Rules
After adding any type of delivery channel, you will have access to ‘Delivery Rules. This is a powerful order routing feature that allows you to configure how the order will be sent in the exact ways you need and allows you to send specific components of your order, rather than just the entire order delivered to one location. This is an essential tool for automation. See below first, each type of delivery rule, and then how to add them.
Rendition
The rendition type delivery rule allows you to send your exact rendition file directly to the location or printer that you need. This is helpful when you are working with various files. For example, you may have the main design file that you want to print, but you also include a customer brochure that you want to be emailed to them or printed off of another separate machine. This allows that configuration.

Customer State
Customer State allows you to specify where orders originating from specific areas of the country should be printed. If you have a variety of manufacturing locations or various fulfillers from around your country (Or any country, for that matter), you can use this to delegate closer orders to these locations. Saving your delivery costs and getting the product into your customer’s hands faster.

Asset Selection
Similar to the Rendition delivery rule, Asset selection allows you to send very specific components of orders to exact locations. Instead of renditions though, you are able to outline exactly which variants will be sent to your applicable machines/manufacturers with the order information. For example, you may offer a hamper-style product to your customers, and within your workflow/customer experience, you may allow them to select from a few different bottles of wine that all feature a personalised label. Instead of sending the label file for each of the bottles to yourself, you could specify a location for exactly where each label for each variant of bottle will go. Your shiraz label can go here, your Moscato label can go there. etc.

Adding Delivery Rules
Once you’ve added all of your delivery channels as seen above, navigate to Delivery Rules and click “Add an Existing Delivery Channel”. Select the channel you need and then click “Add Delivery Rule”. Now you can select the rule type and the appropriate values that go along with each. See below.