Found through Partner>My Account, the My Account page is a key component of your Spiff Hub. Key information required for many components of the Spiff platform is found and configured here. Account and contact details, authenticated users, physical and digital locations used for printing and order delivery and even information about your own fulfillers is outlined on your My Account page.
Account Details
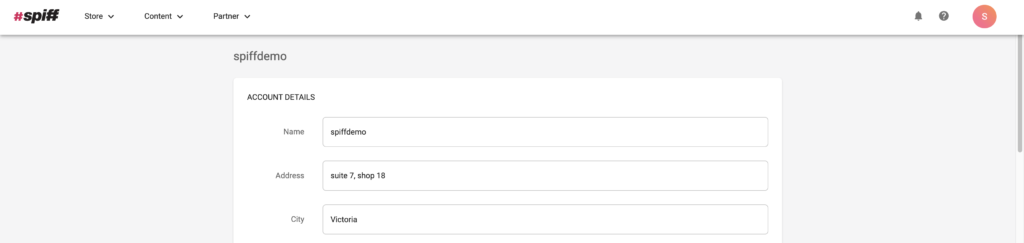
Account details contain information relating to your store’s physical address, as well as the name of your Spiff Partner account (typically your business name). If this information is not already listed in your account, you can enter it all here, if applicable. This information is recommended but not mandatory.
Currency Code
Another key setting in Account Details is the ‘Currency Code’ element, this is where you will decide which currency your customers will see and use. This must match the currency that you use on your integrated eCommerce site.
Contact Details
In this section, you can enter all the applicable information that applies to your own, or your business’ contact details. Name, Phone Number, and Email address are all available to enter in this area, as well as some valuable configurations relating to order processing.
Rejection Email Address
The rejection email address is an invaluable configuration option that allows you to send the exact details of any orders that are rejected by the Spiff platform. This is used in conjunction with the ‘Order Moderation’ component of Spiff. When orders are orders rejected, this email address will be sent a notification with the order info attached.
Account Email
With the ‘Account Email’ configuration, you are able to set a dedicated email address that will be sent information based on billing information, as opposed to your previously entered personal email address. This is helpful for accounting teams, if applicable.
Users
Within the user’s section, you have the ability to add or remove specific accounts from your overall Spiff Hub account. This is an invaluable feature of the Spiff platform. You may have teams of designers, manufacturers, 3D artists, and operational members of your business whom you may want to provide access.
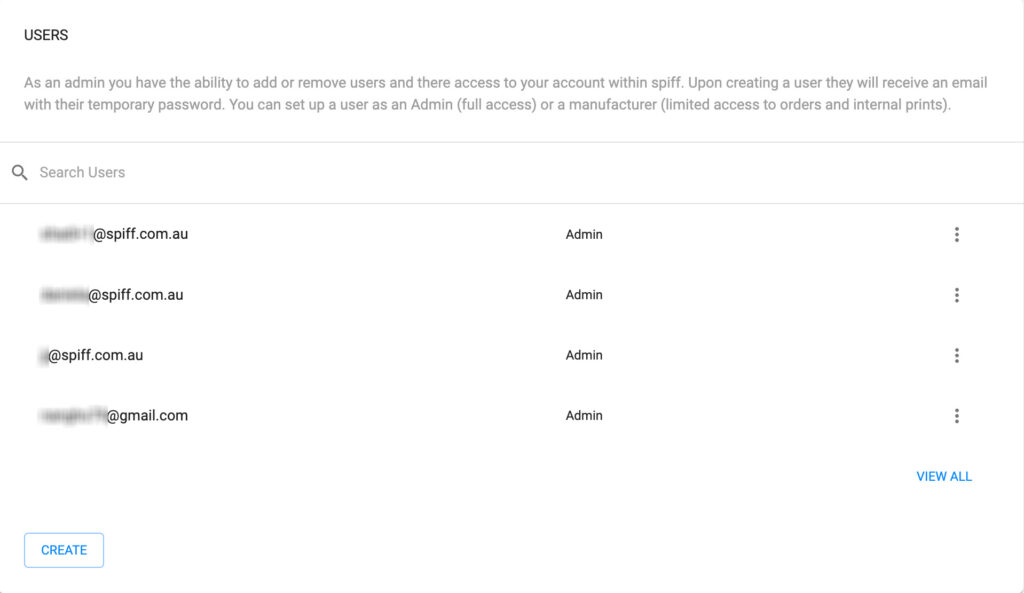
Adding Users to Your Spiff Hub
In order to add a new user to your Spiff hub and provide access to the platform, simply use the “Create” button. From here, enter the applicable email address for the user you wish to add. Next, you will select what role this new user will have. Manufacturers will only have access to print features as well as the orders pages, while Admins will have full access to the platform and everything within your Spiff Hub.
Next, you will need to choose a location for this user, if applicable. If no locations have been created, you can skip this. Once finished, use the ‘ADD’ button and an email will be sent to the new user for them to create an account including a temporary password which they will need to change once the account is created.

Locations – Location Details
An essential configuration for Delivery Channels, fulfilment, automation, and general Order Routing management, the Location Details section of your account allows you to create individual locations for all of the digital and physical areas of your business’s order processing systems. You can not only send order information to specific email addresses, but you can also reduce operational or manufacturing costs by setting up locations for your devices or even directly to your printers with the use of the Spiff Auto Print feature in conjunction with the Spiff Print Service App.
Creating Locations
“Default Location” comes standard with all new accounts, you can use this if you are only going to have one printer/location.
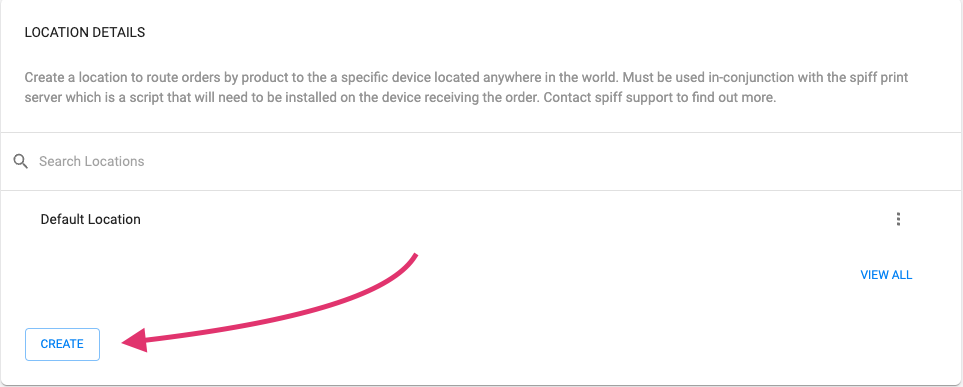
Add a Name for your location and use the “Add” Button at the bottom to add the new delivery location to your account.
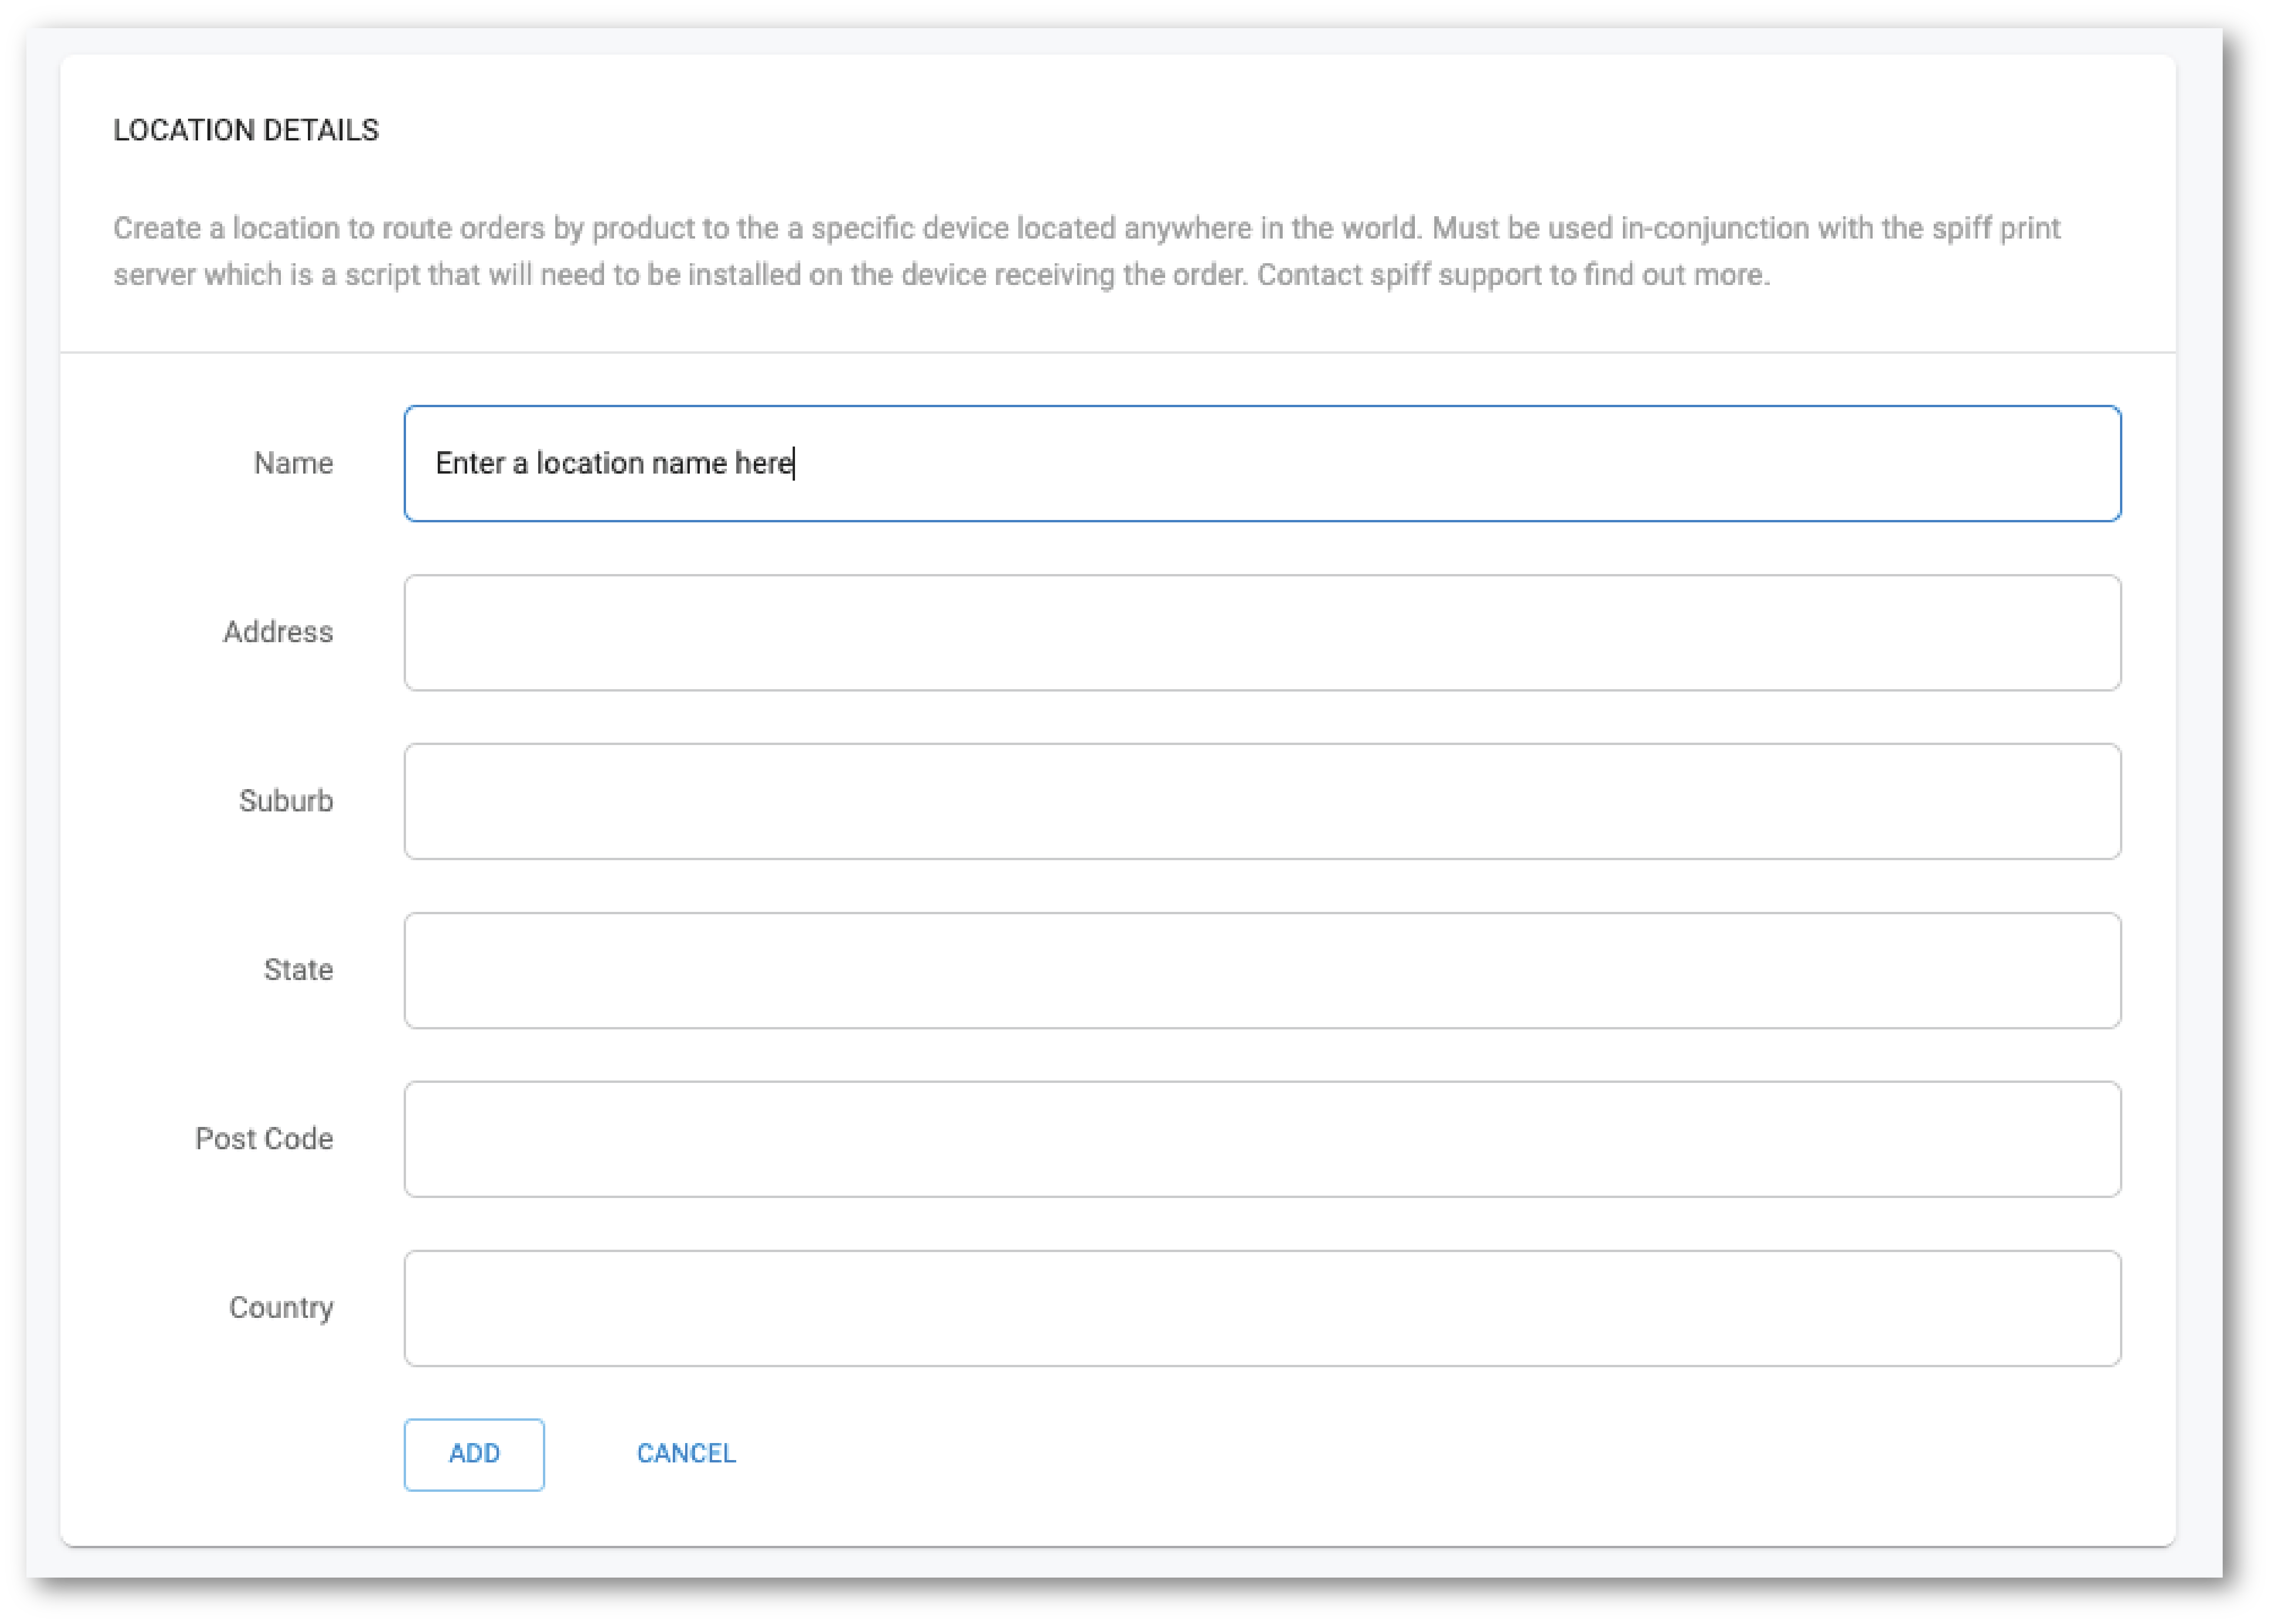
Once you have used the ‘ADD’ button, your new location will now be added and complete. Locations can be removed at any time. If you need to edit your location, you will need to recreate it. if you have enabled the “Delivery Order Logic” and “Print Queue” addons via Partners>Billing, you can now set up the automation/order routing features of Spiff on your account.
Fulfillers
The Fulfillers section of your account page serves as a way to add your fulfillers as a location for Delivery Order Logic and order routing, similar to the digital or physical locations described above in the “Location details” section. If you have a fulfiller that manufactures your products or fulfils the printing process of your products, this will be incredibly helpful. In conjunction with the “Delivery Order Logic”, and potentially the “Print Queues” add-on and Spiff Print app, you will be able to route orders directly to your fulfiller automatically without any extra labour, saving time and reducing costs. The fulfiller will be able to use the Spiff Print app and receive orders to their machines from your account, once set up.