SVG stands for Scalable Vector Graphics, SVG’s are a file format that is used on spiff to create illustrations. On Spiff SVG’s are powerful tool as they allow the user to place on an object in any size whilst being being to amend all of the colors easily using an illustration step.
To create an SVG for Spiff, we are demonstrating how this is done using Adobe Illustrator but you can use any program capable of building a vector.
Open Ai – create whatever shape/pattern/design you like
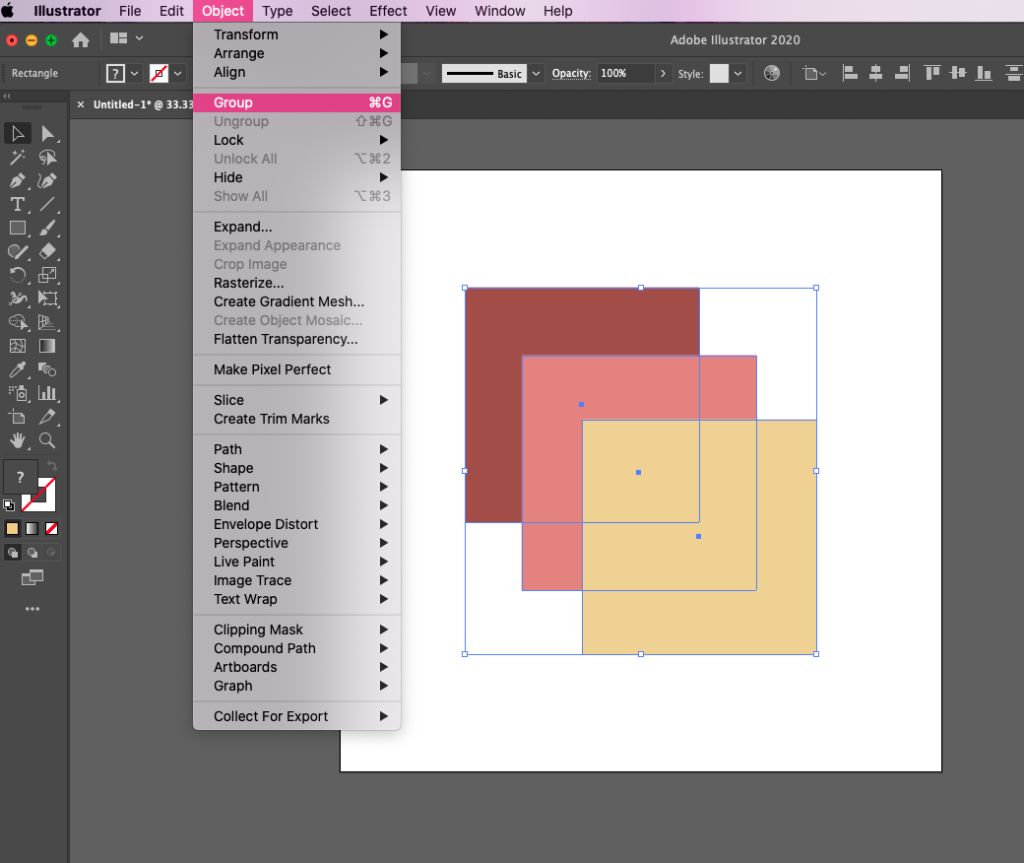
Make sure once you have your design, it is all grouped together. Make sure everything you want in the design is selected and go to Object > Group
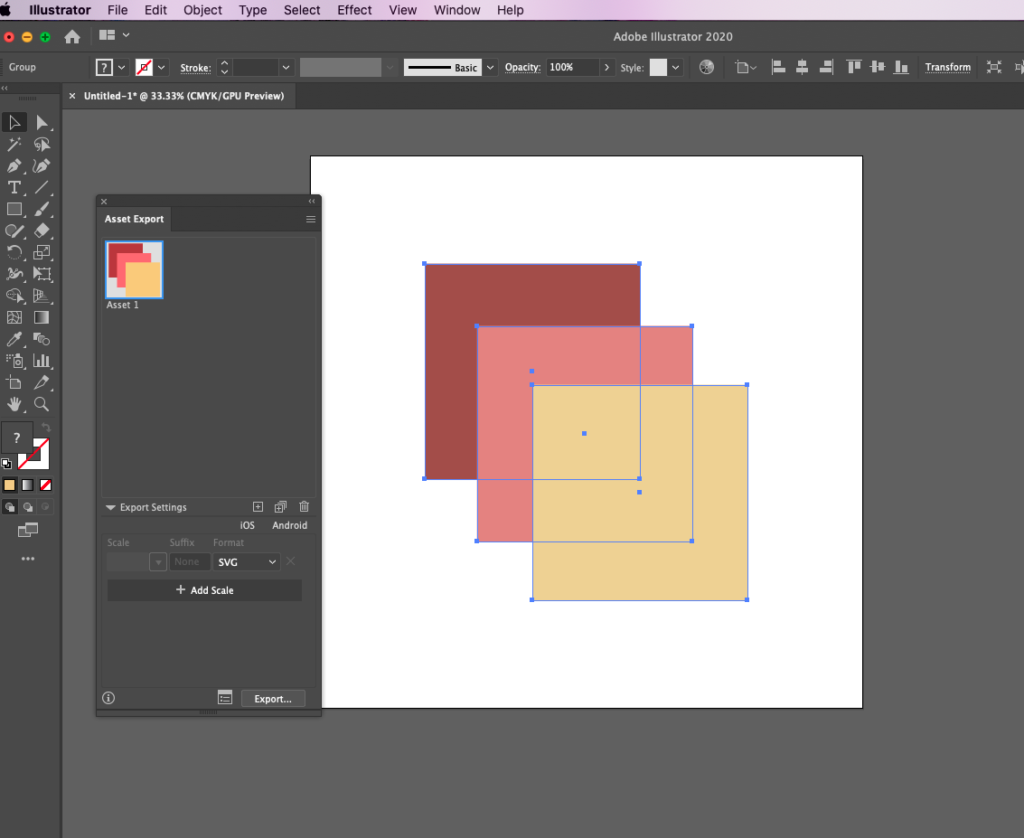
After your object is grouped go to Window > Asset Export

With your asset export open drag your design into the exporter. Make sure the format is on SVG and press Export.
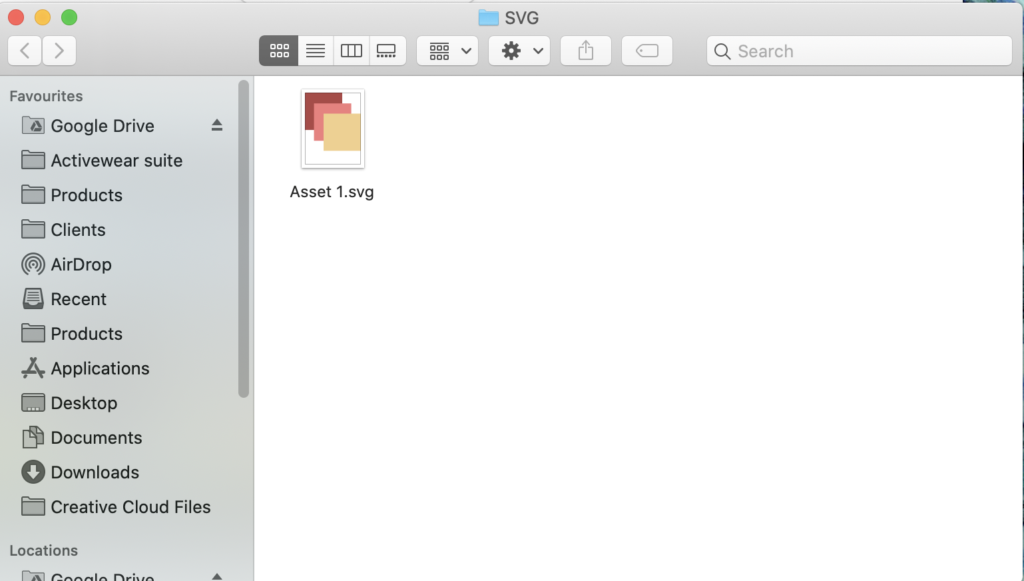
This will export the SVG to your desktop where you can now rename it and upload it to Spiff.
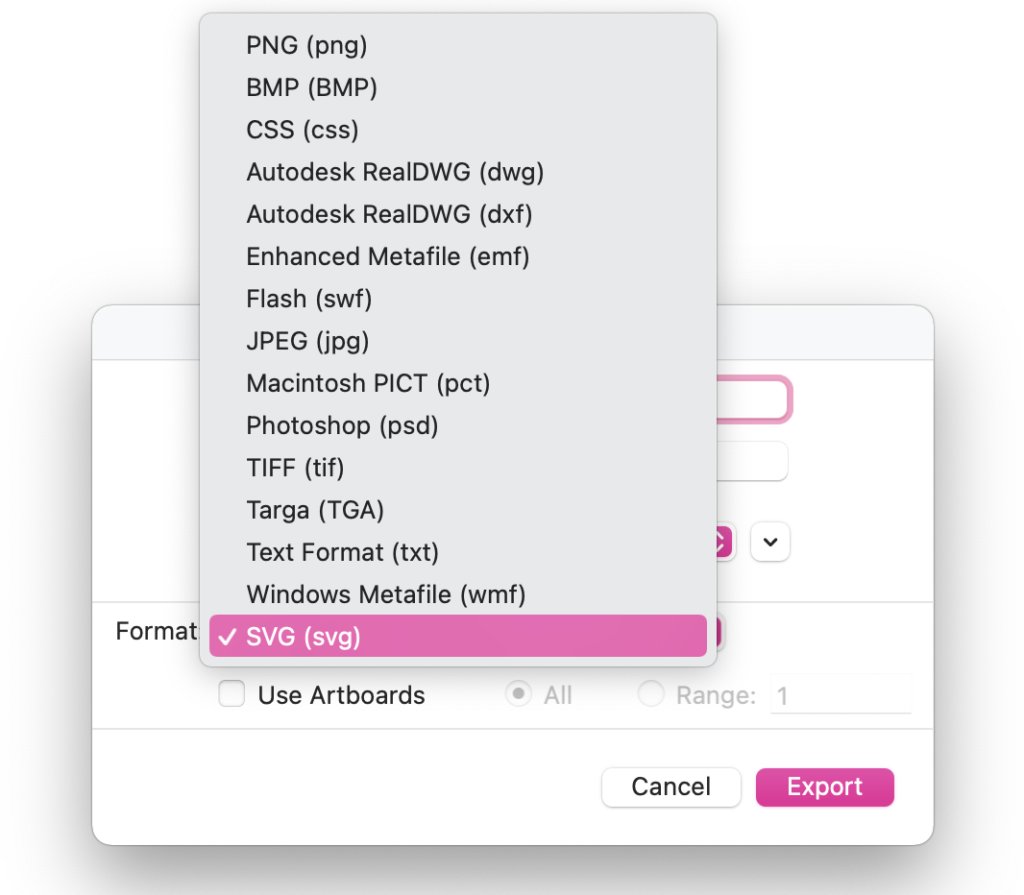
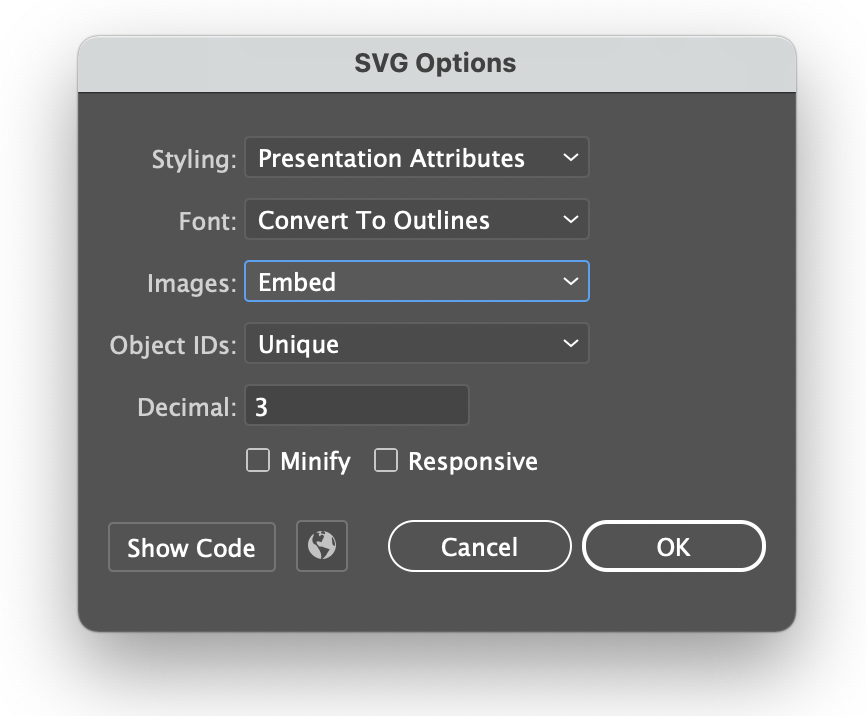
Check Export Settings
Before exporting your SVG’s, go to your top menu and go file > export asSelect SVG and make sure your settings are on embed and unique Id.
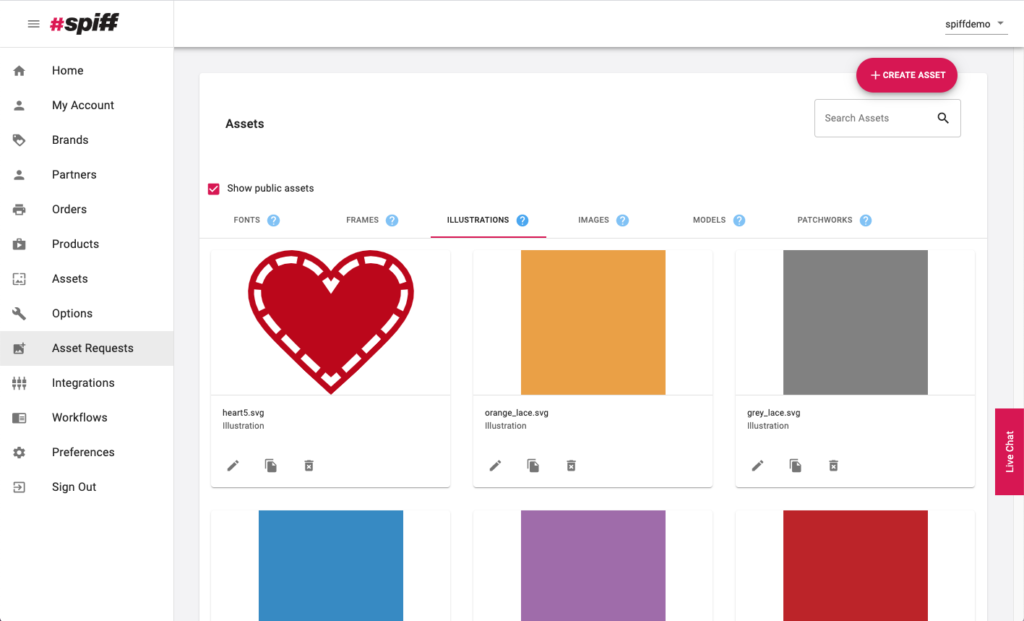
Uploading to Spiff Hub
\It’s very simple to upload it to the Hub. Simply go to your Assets tab in the sidebar and go to Illustrations.
Then press the pink CREATE ASSET button in the top right.
This will open a window where you can select your SVG and press Open to upload it!
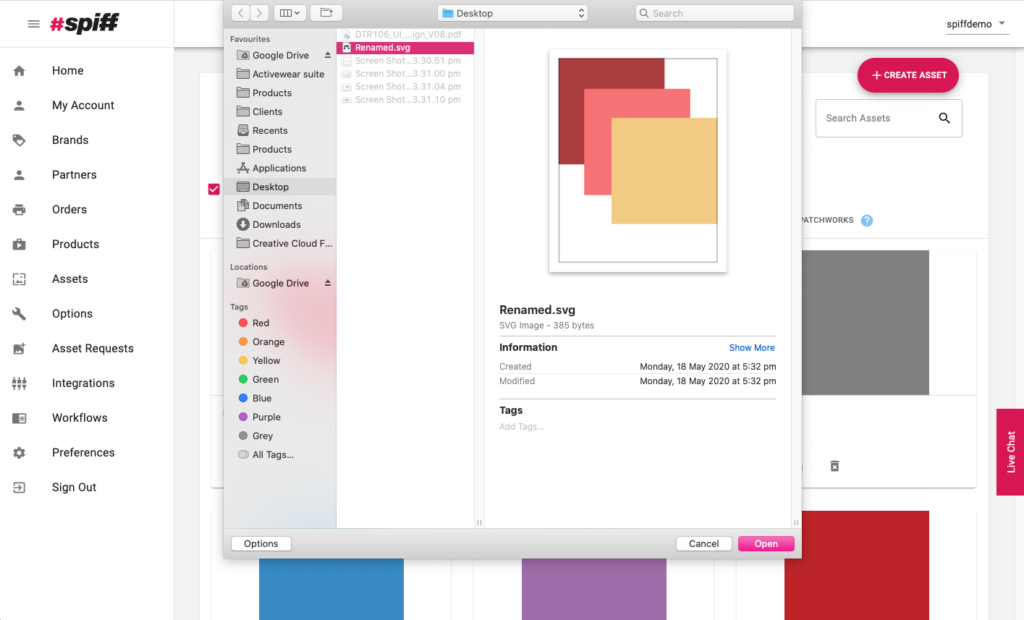
And viola. It’s now ready to add to a workflow.
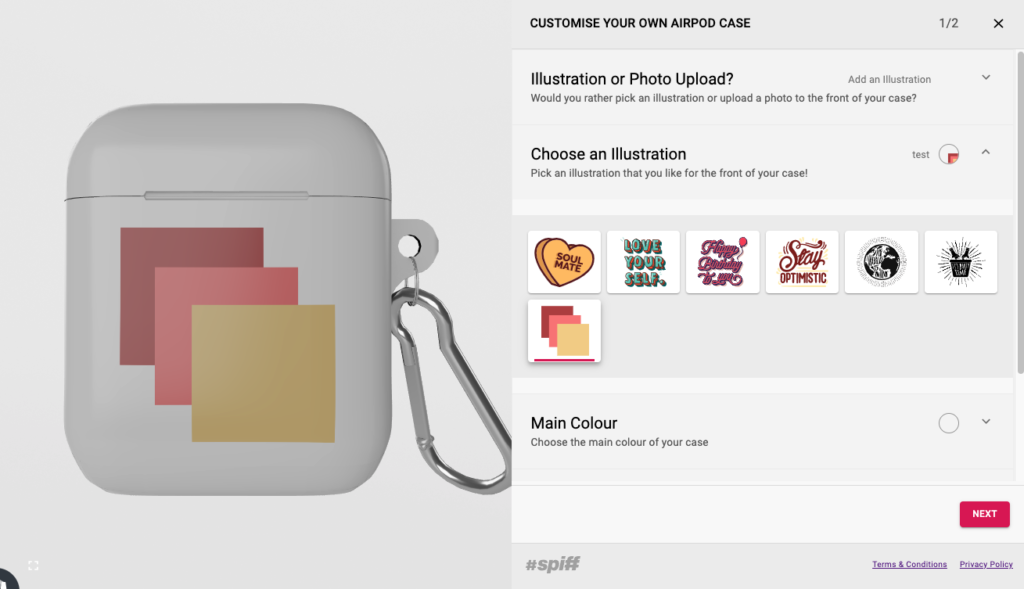
Here is an example of the created SVG being used in a workflow.
Remember
For SVG’s to work properly in Spiff they can not contain:
- Gradients
- Opacities
- Drop Shadows & Other Effects
The reason these can’t work is because the colour picker does not recognise them. If you want your design to contain these things, you will need to use a rasterised image instead (however rasters cannot change colour).
Gradients, Opacities & Drop Shadows
Any gradients, opacities and drop shadows will need to be rasterized in Illustrator before the SVG is output.
Select object and go to Object > Rasterize
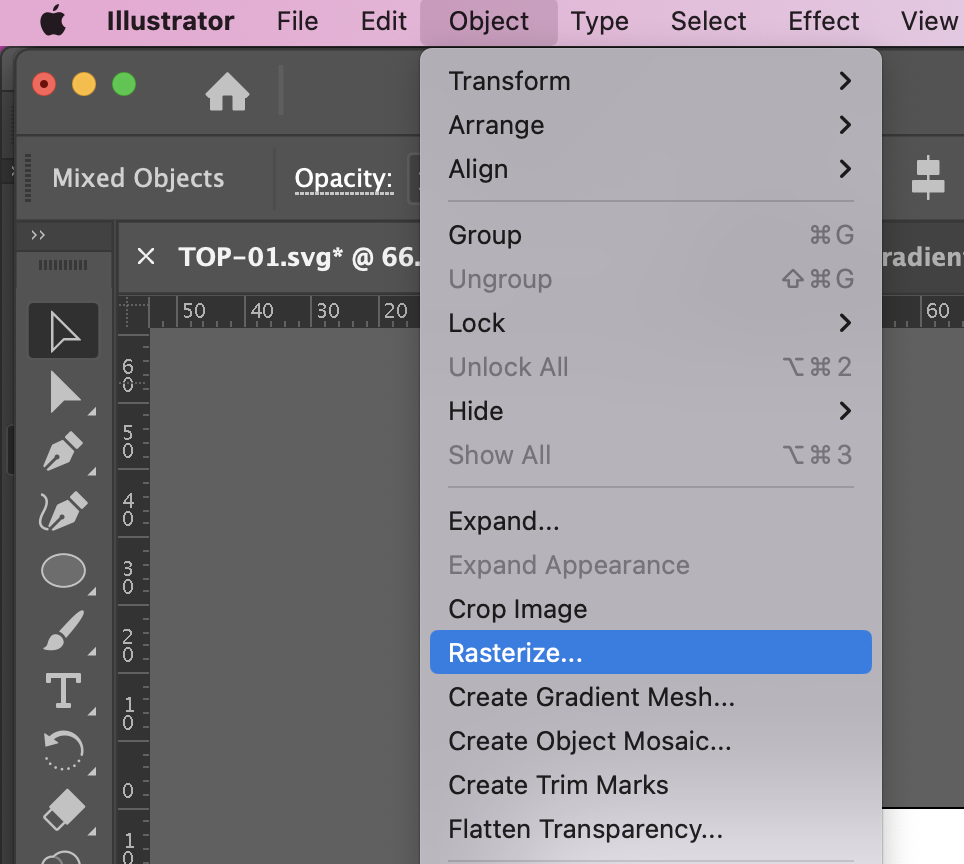
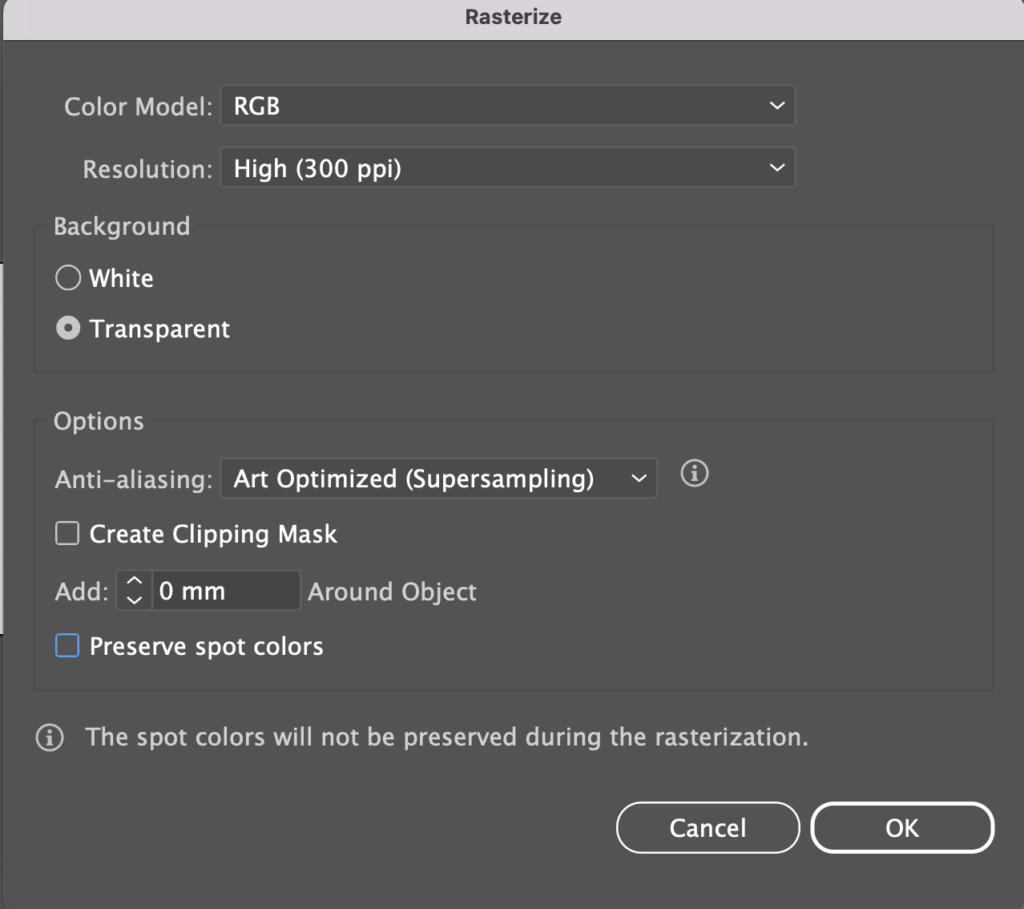
Below are the rasterize settings
Color Model: CMYK or RGB depending on your document Color Settings
Ensure Background is set to Transparent
Preserve spot colours is not selected
We recommend adding a transparent box the same size as your artboard.
Spiff does not recognise the artboard in an SVG and will clip the SVG to the bounding box of the objects in the SVG if there is no transparent box.
Colors
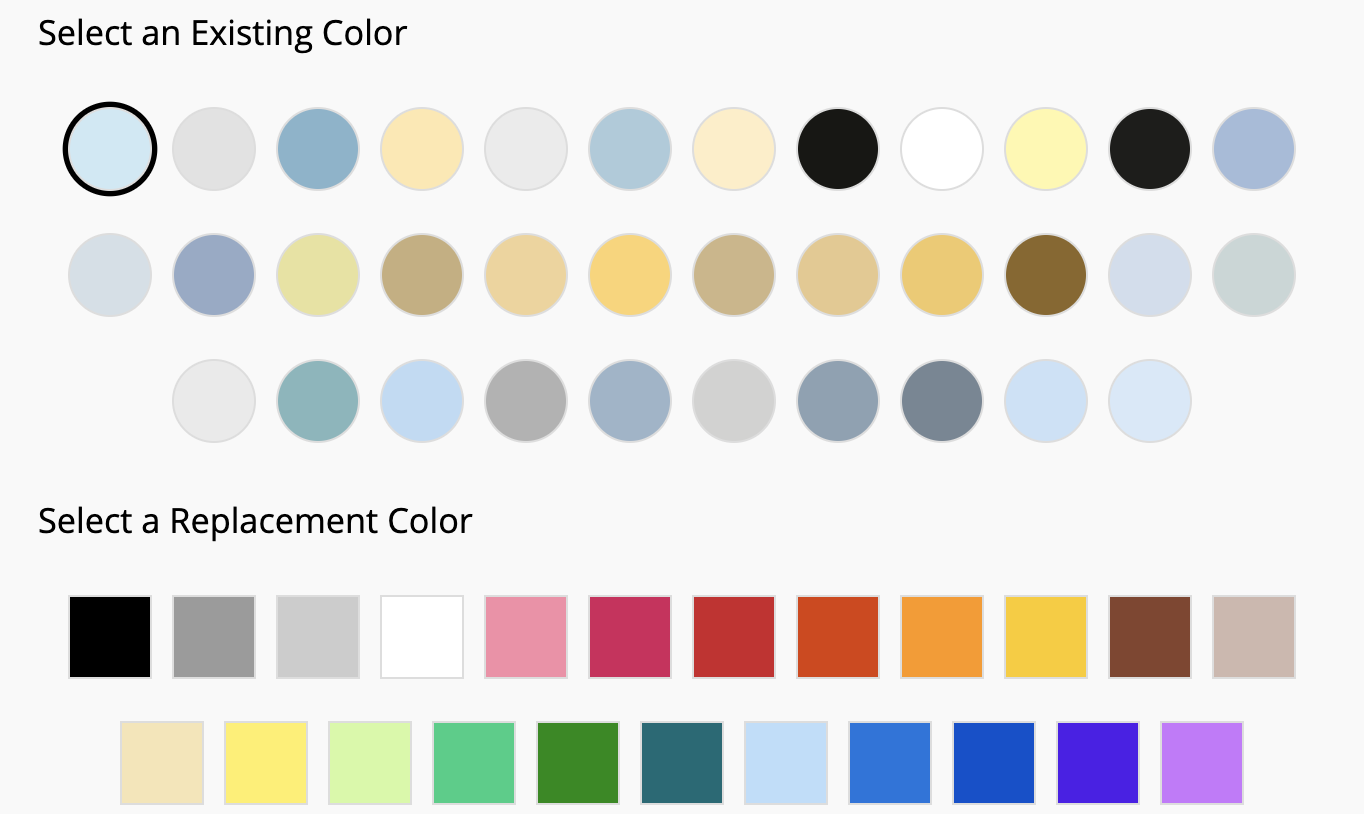
The most exciting thing about using SVG’s is that customers get to change the color of them! However we highly reccomend you don’t have more than six colors in your design because it makes the page look crowded and confuing.
How it looks with six colours –

How it looks with more –
Removing colors from an SVG can be very time consuming, so keep this in mind when creating or choosing your designs.