Within the Config tab, we have access to a variety of more specific essential settings/configurations for your step. The settings found here include, it’s important to know that specific steps have more config options, explore here:

Hide Cart Data
The Hide Cart Data setting allows you to remove the line items of the consumer’s order from the actual cart on their eCommerce site, this provides a much cleaner look in the cart. This is helpful if you want to display key information in the cart if you offer sizes or styles of a garment – you can use the Hide Cart data set on every step aside from these and only these will display in the cart.
Note: all of the selected variations will still be visible to you regardless of this setting within the Orders page on the Spiff Hub.
Cart with “Hide Cart Data” enabled on all steps
Finalise Step Data
“Finalise step data” is a setting that allows the consumer to view the selections they’ve made during their personalisation experience. The consumer can see every detail from the steps that have this setting enabled. Since they can double-check everything they’ve added before completing the transaction – without having to navigate backwards through the workflow lest they need to change something – this minimizes the risk of consumers unintentionally selecting and paying for the incorrect selections. This can save valuable time and money.
Note: all of the selected variations will still be visible to you regardless of within the Orders page on the Spiff Hub.
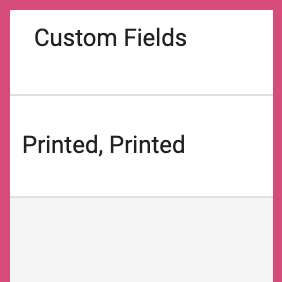
Custom Feilds
The “Custom Fields” setting for steps works in conjunction with the Orders page found in the Spiff Hub.
Custom fields serve as a way to visually display the selections from certain steps on the orders list page.
You can then filter by these custom fields on that Orders page, so you can view and select only the orders based on variants selected by the consumer.
For example, you may sell custom shoes, and you want to determine how popular certain selections are on your product, maybe consumers are selecting a few common colours like black, white, orange, blue etc. but you offer much more than those colours – perhaps at a cost to you. Or maybe you sell personalized jackets, you could use custom fields to filter orders by size, you may want to determine the number of orders that have been purchased in a medium or large size. This allows that observation.
Animations
Contained within the “Config” tab of each Step’s Settings, animations serve as a way to present your products and experiences exactly how you want them to the consumer. This allows for a feature-focused journey, showing indisputably what it is they are adding next. Camera animations allow for control of the 3D viewer itself, panning, rotating, and moving to a location captured by you, expanding the horizons even further, “Model animations” allow for an exciting and interactive product personalisation experience, visually bringing the products to life in real-time to the consumers – a much more fun experience than something that feels somewhat static.

Camera Animation
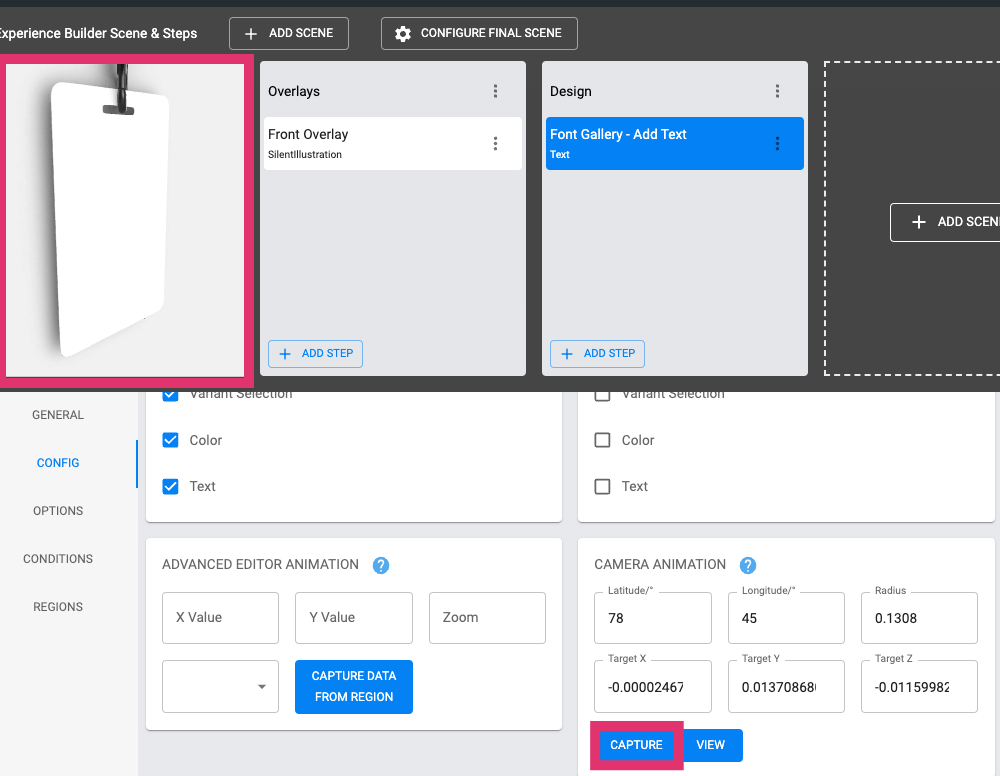
With the Camera animation feature, you control exactly where you want the 3D preview to point, this is incredibly valuable for 3D experiences since you can configure the camera to look at very specific locations on the 3d model. For example, if you sell a custom backpack, you may add colours, and text, but you also add things like Zippers, extra pockets, and different strap materials – With Camera Animation, you can show the consumer exactly what they are changing automatically as soon as they get to that step. In conjunction with the internal 3d viewer within the Workflow Editor (Accessed only by editing a workflow via a product with a model attached), you can quickly and effectively find the right location you want to display and set your camera animations.
Select the appropriate step, then spin, zoom, and pan the internal 3D viewer to the desired location, then use the “Capture” button within this configuration. Hit save and try it out! Use the “View” button to show you where the camera animates when you’re working with multiple animation-enabled steps. To reset the camera completely, simply leave the workflow editor and hit edit again through the associated Product page.
Model Animations
The “Model animations” setting refers to and controls animation clips attached to the 3D model itself that’s attached to your product.
Rather than frames, the model animation setting is measured in seconds. When this step is interacted with or selected, the model animation will play through the desired time, a setting of 0-7, for example, would play from the very beginning of the animation through to 7 seconds. This, of course, requires that the 3D model has animations created and embedded by the 3D Artist.
Advanced Editor Animation
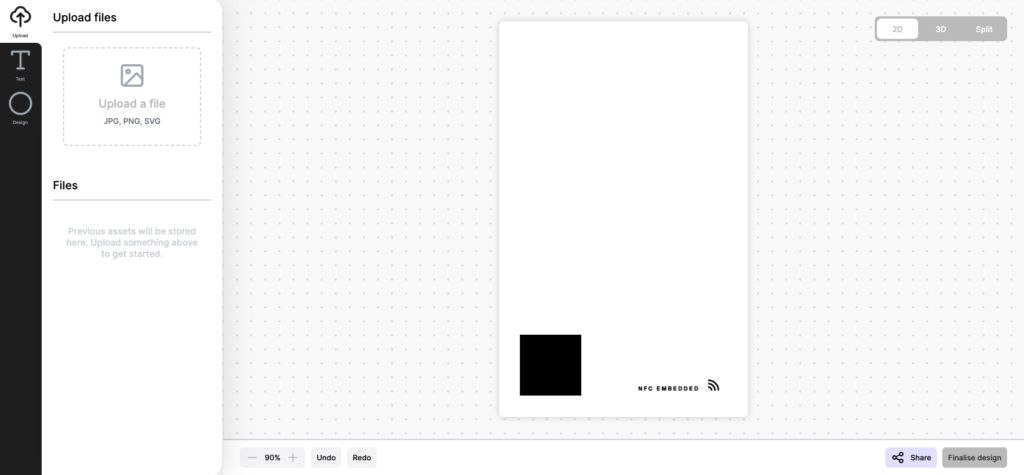
Advanced Editor Animations apply to the Free Design 2D Editor, with this, the step can not only automatically pan and zoom to precise locations within the 2D preview while the consumer is interacting with everything, but can switch panels/pages too. The X and Y values refer to the position the camera will pan over, from wherever it currently is in relation to the overall panel size.
This is helpful for the Free Design editor since the consumer wouldn’t have to manually switch to the panels that they’re editing with a certain step. There may be a next step for the front, and one for the back, but when they edit the rear text they would have to navigate through the UI and change panels themselves – instead of it automatically switching on-click with the step.