“Conditions”, or, Conditional Steps, serve as a way to add (or remove) access to consecutive steps in your consumers’ experience and your workflow. Accessed through a selected step’s “Conditions” tab, you have the ability to create “IF”, “Or” and “And” conditions, and further, you can attach multiple conditions to any step that it must abide by. This is especially helpful, if not necessary for many steps, like “Question Steps”, for example.
Adding Conditions
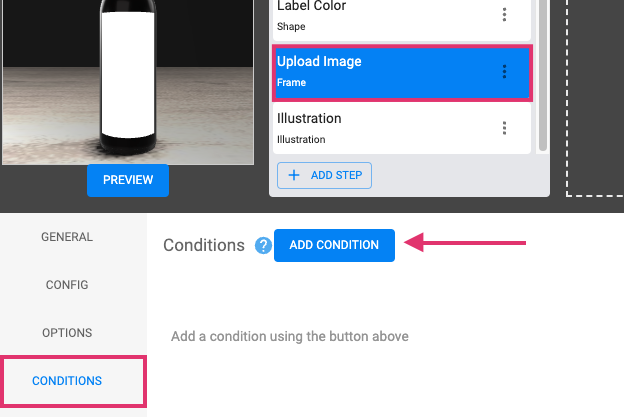
Let’s begin by adding our first condition. Within the workflow editor, once you’ve added some steps, simply click on the applicable individual step to select it. Once selected, navigate to the Conditions tab within the selected Step’s Settings, and then use the “ADD Condition” button. See below.
Configuring Conditions
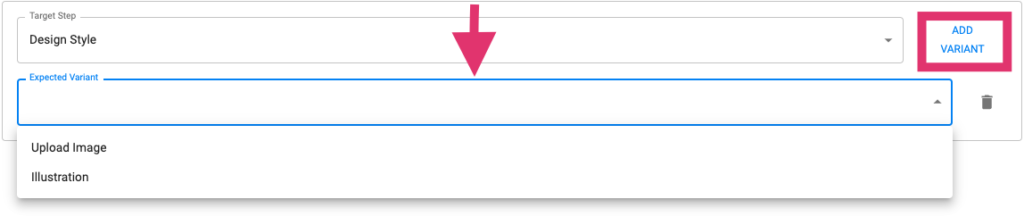
Next, let’s select our new condition and start setting it up. Select your newly added condition by clicking its listing, then add a ‘Target step’. The target step, with its selected variants, is what will trigger our new conditional step.

In our example workflow, we are creating a wine bottle personalisation experience, our initial step, a “Question Step” titled “Design Style” is set up with two choices that change the way our wine bottle’s label appears. The first choice in this target step is an “Upload Image” style label, and the second is an “Illustrations” style label. This is the step we will add as our Target Step.
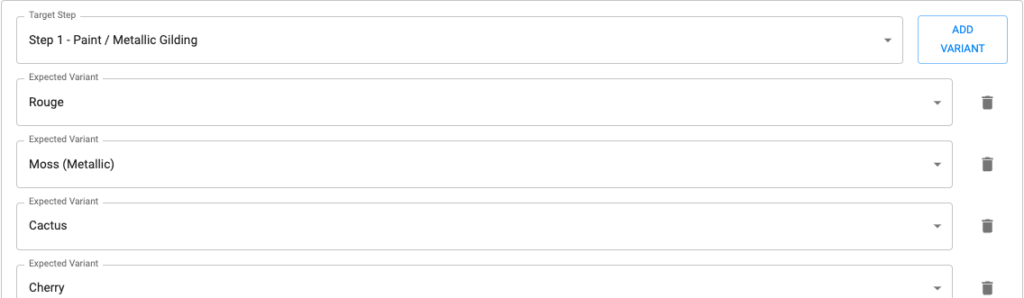
Now we will add a variant from our Target Step. Select the appropriate variant and it will now appear in the condition. Repeat the process for every other variant you want to trigger this step from the Target Step, or even add another separate condition with the ADD CONDITION button again (an “AND” condition process) then choose another Target Step and variant.
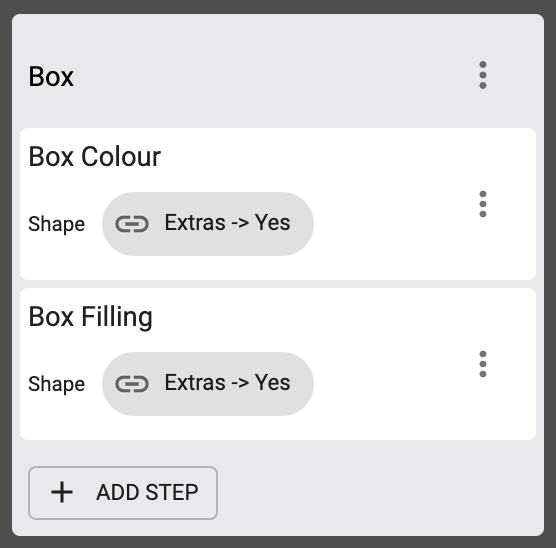
With this done, we can now see underneath our new conditional step in Scenes, that it has its condition listed visually, making it easy to find and organise complex workflows with many conditions. See Below.
Make sure to save your progress, and now you can test it out with the “Preview” button in the internal 3D viewer in the workflow editor, or with “Create Design” on the Products Page.

“OR” Conditions
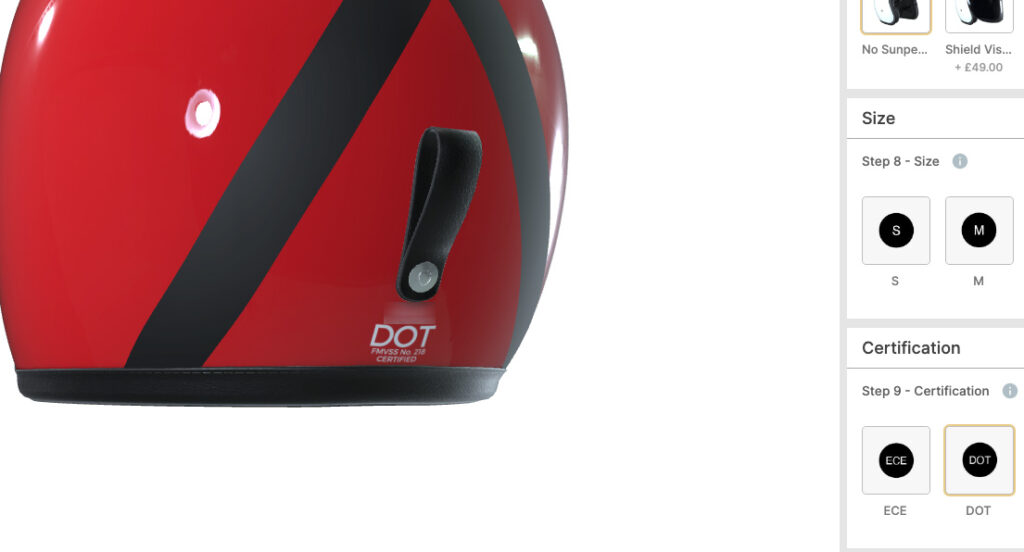
With conditions set up in an “OR” configuration, you can select various variants from a single Target step where needed. This proves helpful for conditionally adding design elements of a certain colour or style – that you only want to appear once any of the specified variants is chosen. See below, this step conditionally adds a black safety certification sticker to the back of a motorbike helmet based on a set of colours. If one specific colour is chosen, OR another from the same target step is chosen, then this conditional step will be triggered and add the sticker to the helmet.
“AND” Conditions
When you need two or more conditions to be met, from various unique target steps, you can create an “AND” configuration. This is done simply by adding multiple individual conditions to a step. In this case, the first condition, AND another condition must be met. Using the same example from the above “OR Conditions” explanation, we are adding a sticker to the back of a helmet conditionally based on a selection of a few colours. With the AND configuration, we can add this sticker not only when one or another colour is chosen, but only allow it to be finally added once a completely separate target step (Certification selection in this case) is chosen. In this case, specific colour AND specific certification selection are required to trigger this step.