Options act as a container and/or list of variants, or “Options”. As the selections available to the consumer during the experience are created within options. Although an Option is typically created within the workflow editor, we also have the ability to create External Options that can be reused and added to any applicable workflows that you need them for.
Say, for example, we want to sell a variety of different styles of hats. Although they are physically different, they all have the exact same options/variants for a colour step. We want our colour step options to be universal and accessed by any workflow, so we create them externally through the Options page.
1. Adding Options
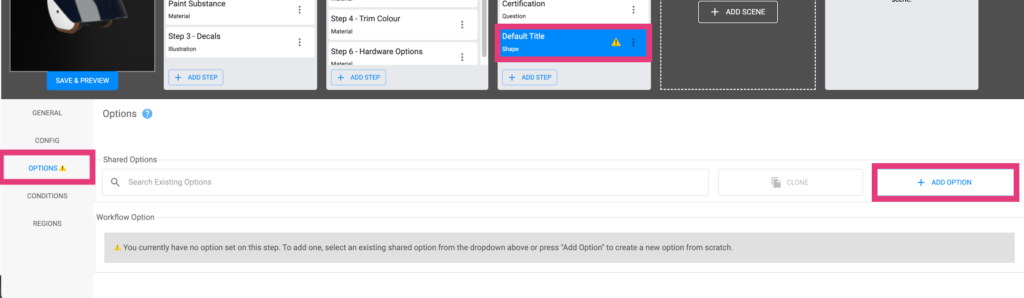
Let’s Start by adding an option. navigate to the Options tab with your step selected.
Once there, you can use the “Add Option” button to initiate the process. Now we can name our Option.
2. Adding Variants
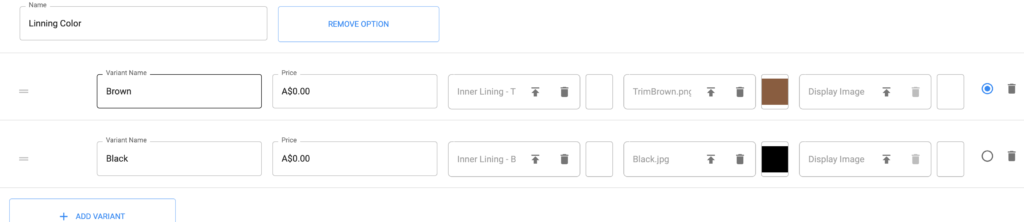
Now let’s add a variant, do this with the Add Variant Button at the bottom left of the options page.
Click add variant as many times as required for your use case. You can easily delete variants too by simply using the trashcan icon to the right of each.
3. Thumbnail
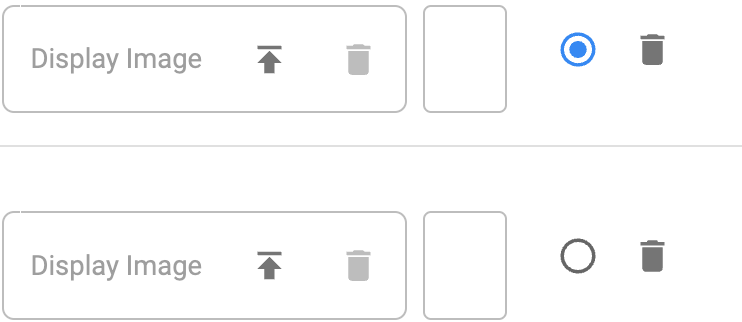
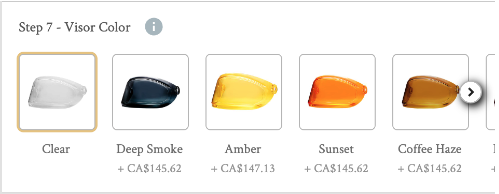
Thumbnails serve as a way to visually display the variants/options to the consumer. While the consumer is using the experience, thumbnails will display over the ‘selection space’ of each variant; The area where they will click to select the variant, much like a small product image thumbnail in a regular online store.
Use the second last box for each variant, listed “Thumbnails” to add a thumbnail image from your image assets.
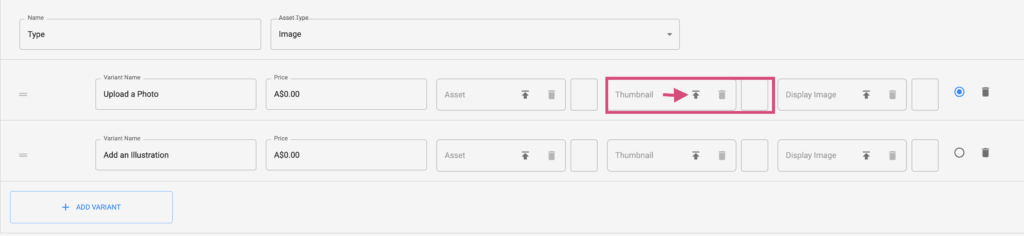
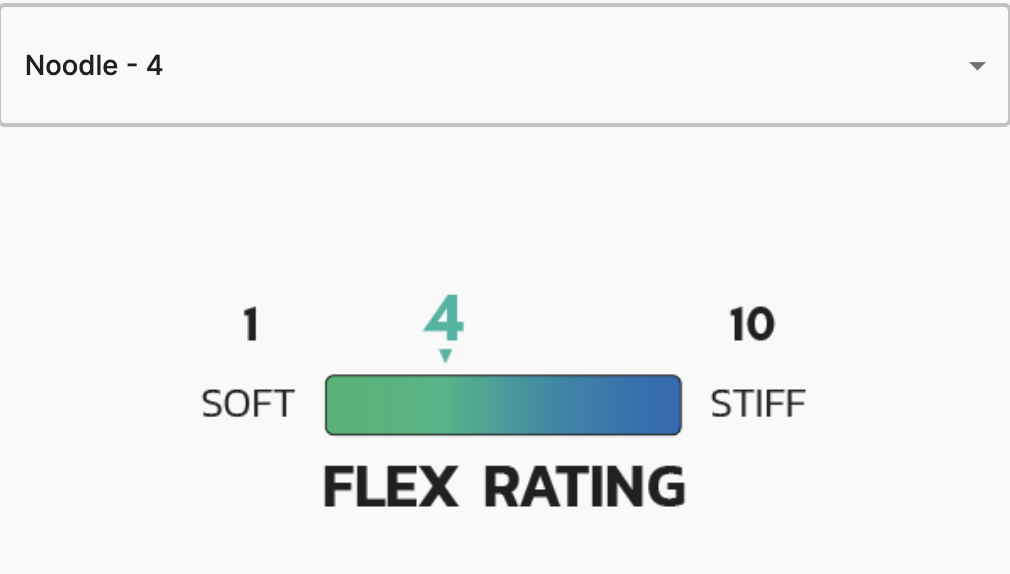
4. Display Images
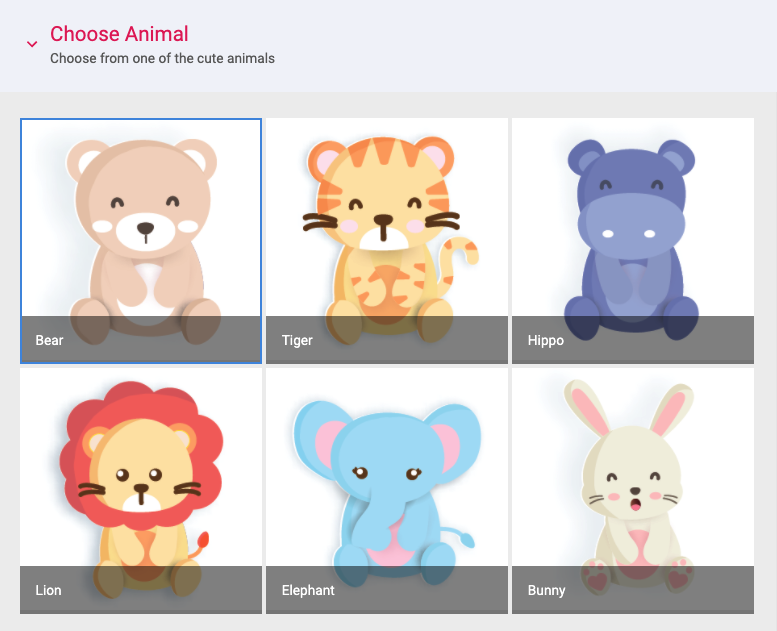
Display images provide a helpful opportunity for you to express specific information to your consumers with ease. For example, you may sell Jackets from Europe or Asia, and you want to display an accurate sizing/conversion chart to them without forcing them to leave the experience and visit external pages. This is done with Display Images. The Display images for each selection will appear below the step in the experience as a large isolated image, unlike thumbnails that appear together and act as selectors. See below for of a Ski & Snowboard company displaying images relating to an important “Flex Rating” of their snow products.
2. Default Variants
“Default Variants” can also be added for any variant. This serves as a way to populate a workflow prior to the consumer selecting anything. This is helpful to present an existing style onto the model or canvas that the consumer can already see before making their own changes, this helps them understand what exactly it is that they’re doing or changing/adding in this experience, especially in regards to individual steps. Use the circle at the end of the individual variant and save the workflow to enable a default, and uncheck the now blue circle to disable the default.