The Product Overlay step, similar to the Silent Step, enables you to insert an image asset or illustration into your workflow’s panel completely externally. With this, you are able to insert product information, ingredient information, barcodes or anything else at the product level, rather than inside the workflow itself.
Not only does this enable you to create universal workflows that can be used over many products, but can further improve your production experience by adding the key information automatically that cannot be edited by the customer into the panels that you need.
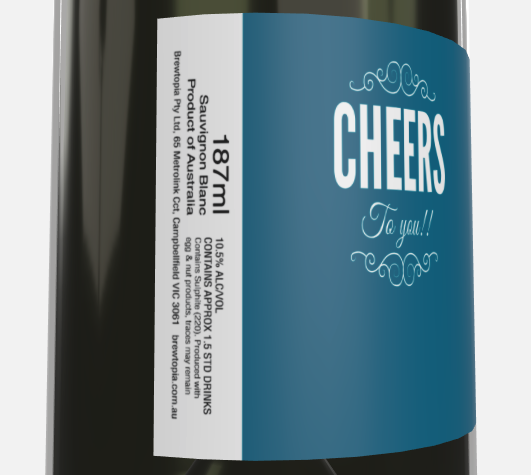
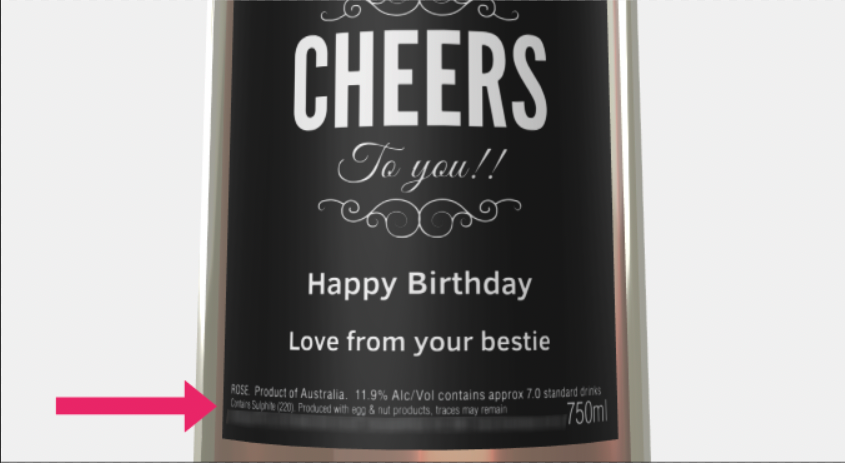
For example, you may sell a variety of wine bottles that all share the same sized label attached. The label is the design area of the bottle that your customers to add design elements, but you need to display the product information on the side, alcohol content, bottle size etc. This is done with a Product Overlay Step. In this case, you could create an endless amount of workflows and attach them all to every product. You could even add your logo that cannot be edited or overlapped.
Adding your product overlay asset
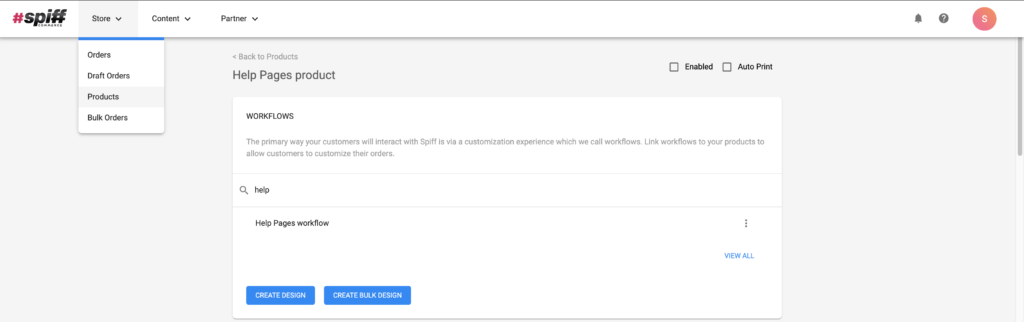
Let’s start by adding our product overlay asset. To do this, navigate to your Product List page via Store>Products in the Spiff Hub. From here, find or search for your appropriate product and click on it to access the Product Edit screen.
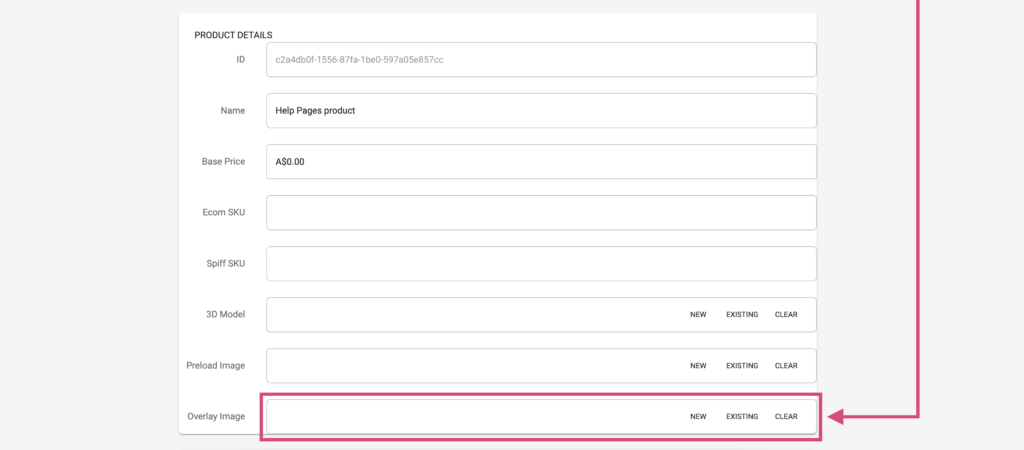
Once you have accessed the Product Edit page, scroll down to “Product Details”, the second section of your edit page. The “Overlay Image” section is where you will add your product overlay asset. Use the ‘New” button to upload a new image or SVG asset, or select one directly from your Spiff Assets Manager via the “Existing” button. This will connect your overlay asset to your product. Once this is done, hit save and then navigate back to your applicable workflow.
Adding the Product Overlay Step
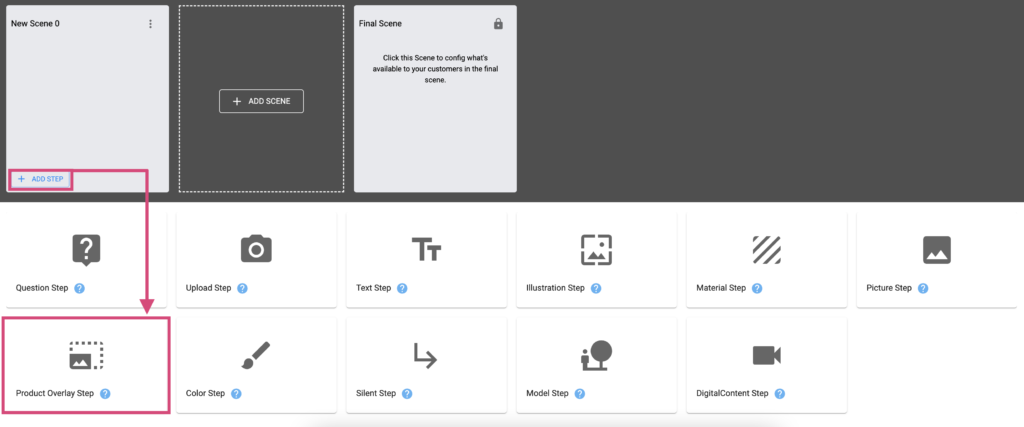
Let’s start by adding our new step. Navigate to your workflow and add a “Product Overlay Step” via the +ADDSTEP button within one of your workflow’s scenes. See below.
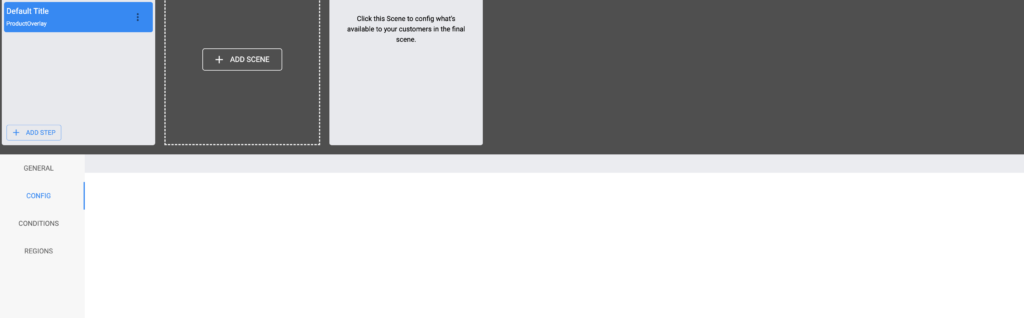
Product Overlay Step Config
The Product overlay step is unique in that it has no config settings. The step is built this way since the product overlay asset is inherited from the product, rather than being added to the workflow itself, therefore the config panel is redundant.
Regions for the Product Overlay Step
As explained in the Regions and Panels documentation, your region will determine where your Step Assets will appear. Access this via your step’s “Regions” tab. If your Product Overlay is designed with the entire panel size in mind, you can simply use the same width and height in your region to cover the entire panel.

Finalising your Product Overlay step.
Once you have added your overlay asset to your product and created the appropriate regions for it, the Product Overlay step is now ready to use.