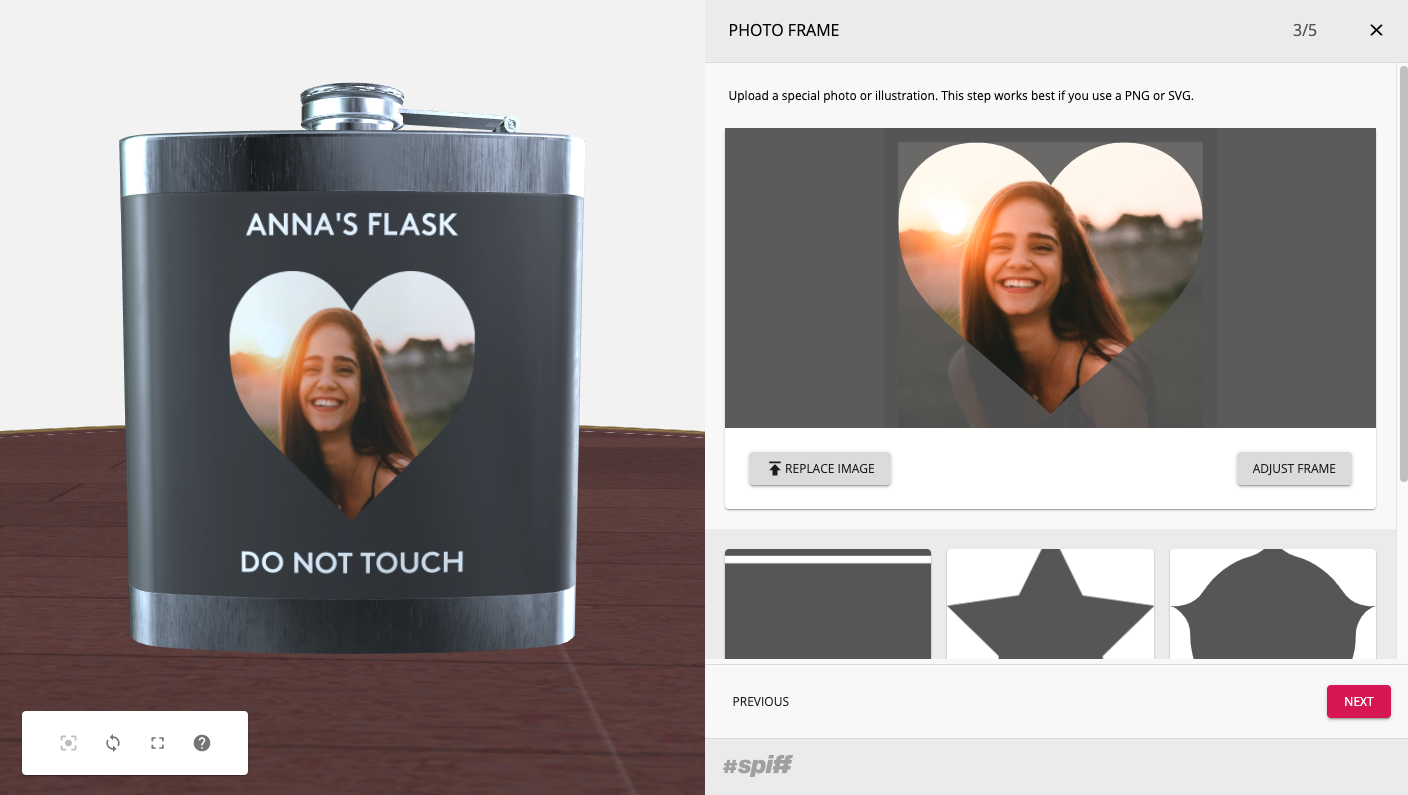
Frames are a powerful and easy way to empower your consumer with the ability to create professional and artistic personalizations without needing to have any knowledge of how to design. They allow the user to upload photos in a certain shape to a specific area. Without Frames, we would only be able to drop images into square or rectangular regions defined by length and width.
Note: If you are wanting to use a Frame that is a rectangle or square you do not need to create a Frame asset, you can set the Region on the upload step to create the square/rectangle upload shape.

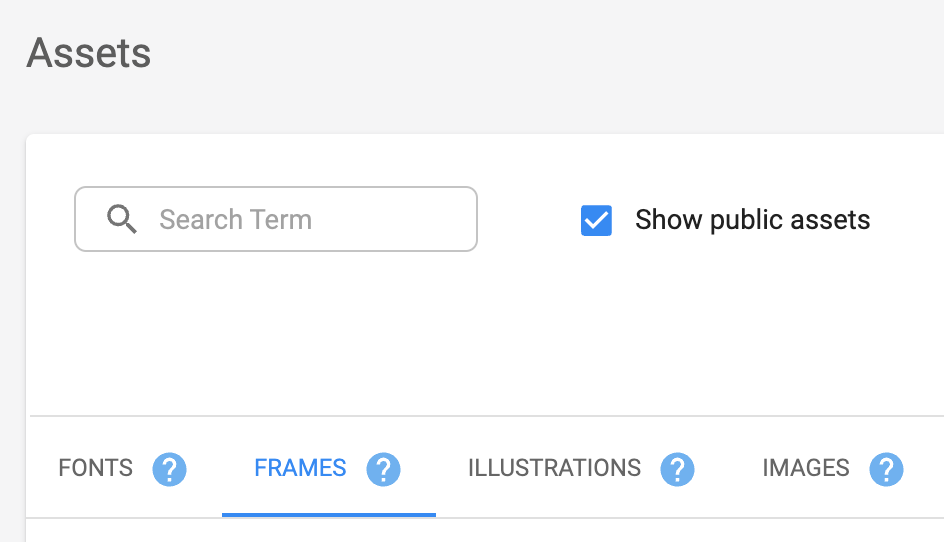
Like all other Spiff assets, we provide you with a public library so that you can start building Workflows straight away. To see the library of Frames simply make sure the Show public assets button is checked.
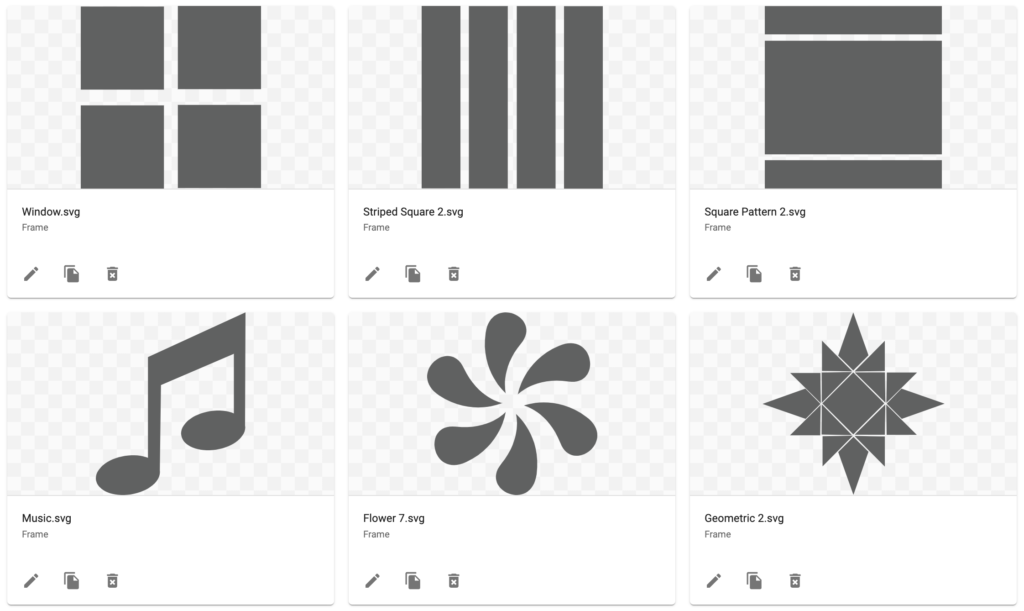
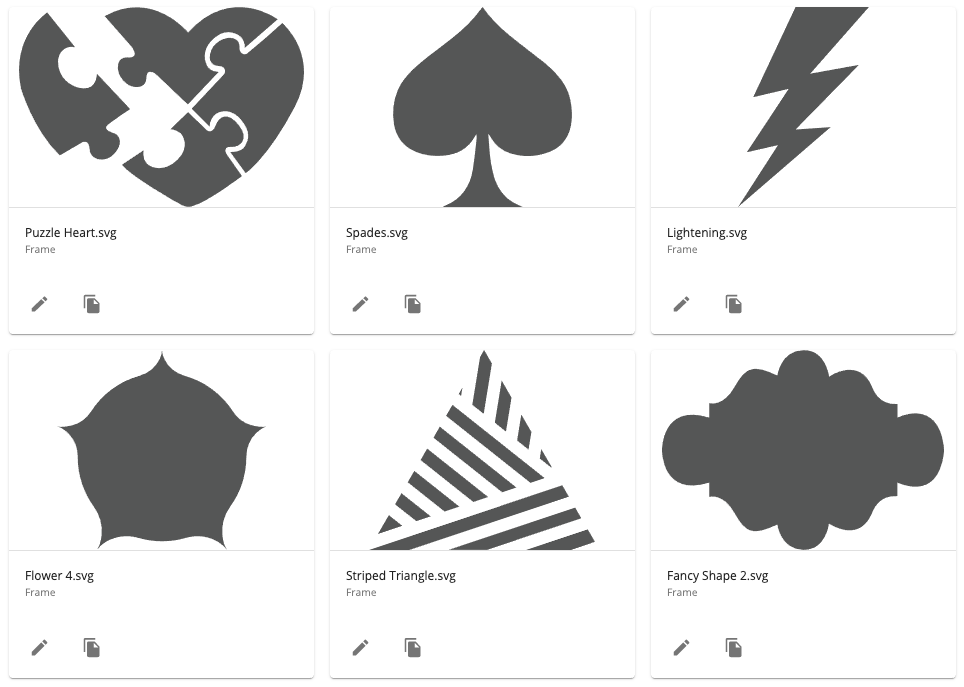
This is what a few of our existing Frames look like. They can be any shape you want.
Accepted File Formats
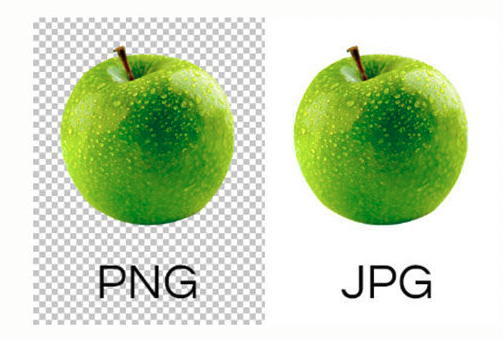
When a user is uploading an image to a Frame it needs to be a JPG, PNG, or SVG. They are able to upload photos straight from their device.
Uploading Logos
Uploading a logo to a Frame is the same as uploading any other image except the image will need to have a transparent background. The file types that we recommend using are PNG or SVG because they support transparency. JPG does not, applying a logo in a JPG will result in white space to fill the area outside of the logo.
Using Frames
Are you wondering how many Frames you can use? When adding Frames to a Workflow you can have as many as you like! As long as they all have the same aspect ratio. The reason they all need to be the same aspect ratio is that they will all be placed into the same Region, which will stretch/squish a frame that is not the right size. These Frames can be added in as separate Variants, or as an Option.
Placing Frames
Placing Frames is made very simple with the use of Regions. A Region is an area that defines the location where the content in your step is placed on the panel. Simply find out the region in which you want your frame to appear on the panel and then add your chosen frame(s). Go here to more about placing your Regions.
Creating a Frame
Frames are created as vectors in Adobe Illustrator and are exported as SVG and uploaded to the Frames in the asset gallery. Only SVGs in this folder will be able to be used in the upload step.
See the steps below for detailed instructions on how to create a frame in Adobe Illustrator.
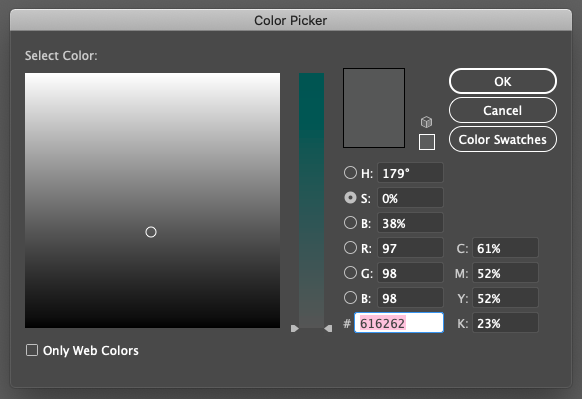
- Create your desired shape as a vector in Illustrator, this shape can be anything you like. We have chosen to make all of our frames grey to keep them consistent and recommend you do the same. The hex code is #616262. The color your frame is will not effect the way it works.
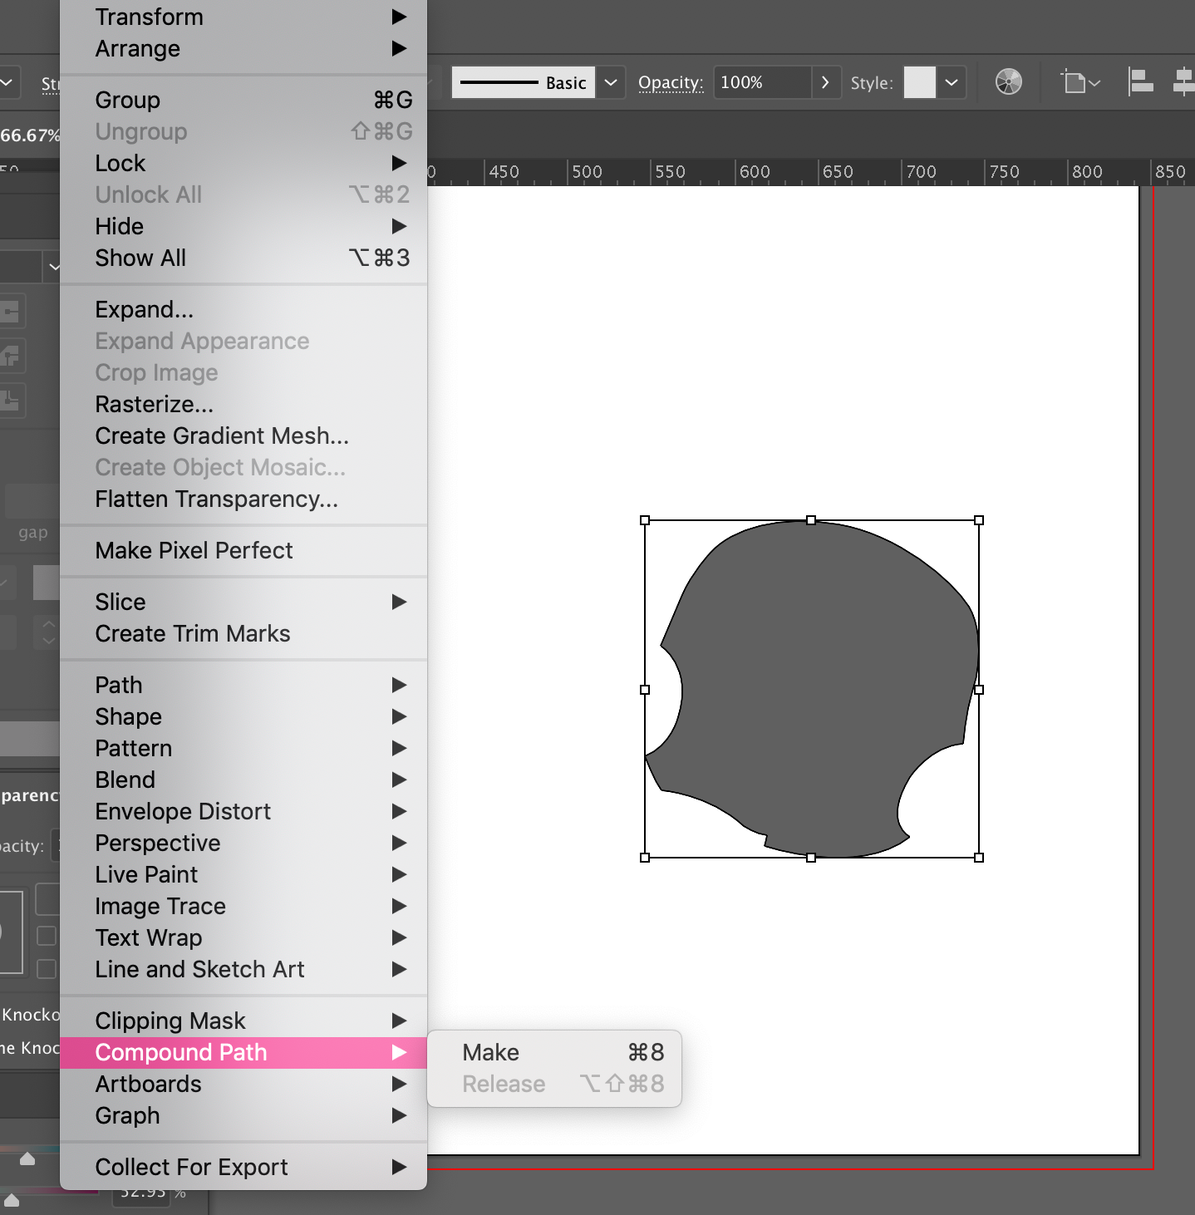
- After you have created your shape turn it into a compound path. Do this by going to the Object tab in the top menu, down to Compound Path, and then Make. Also, it’s important to note if your Frame is made up of two or more objects, first group your objects and then make them a compound path.
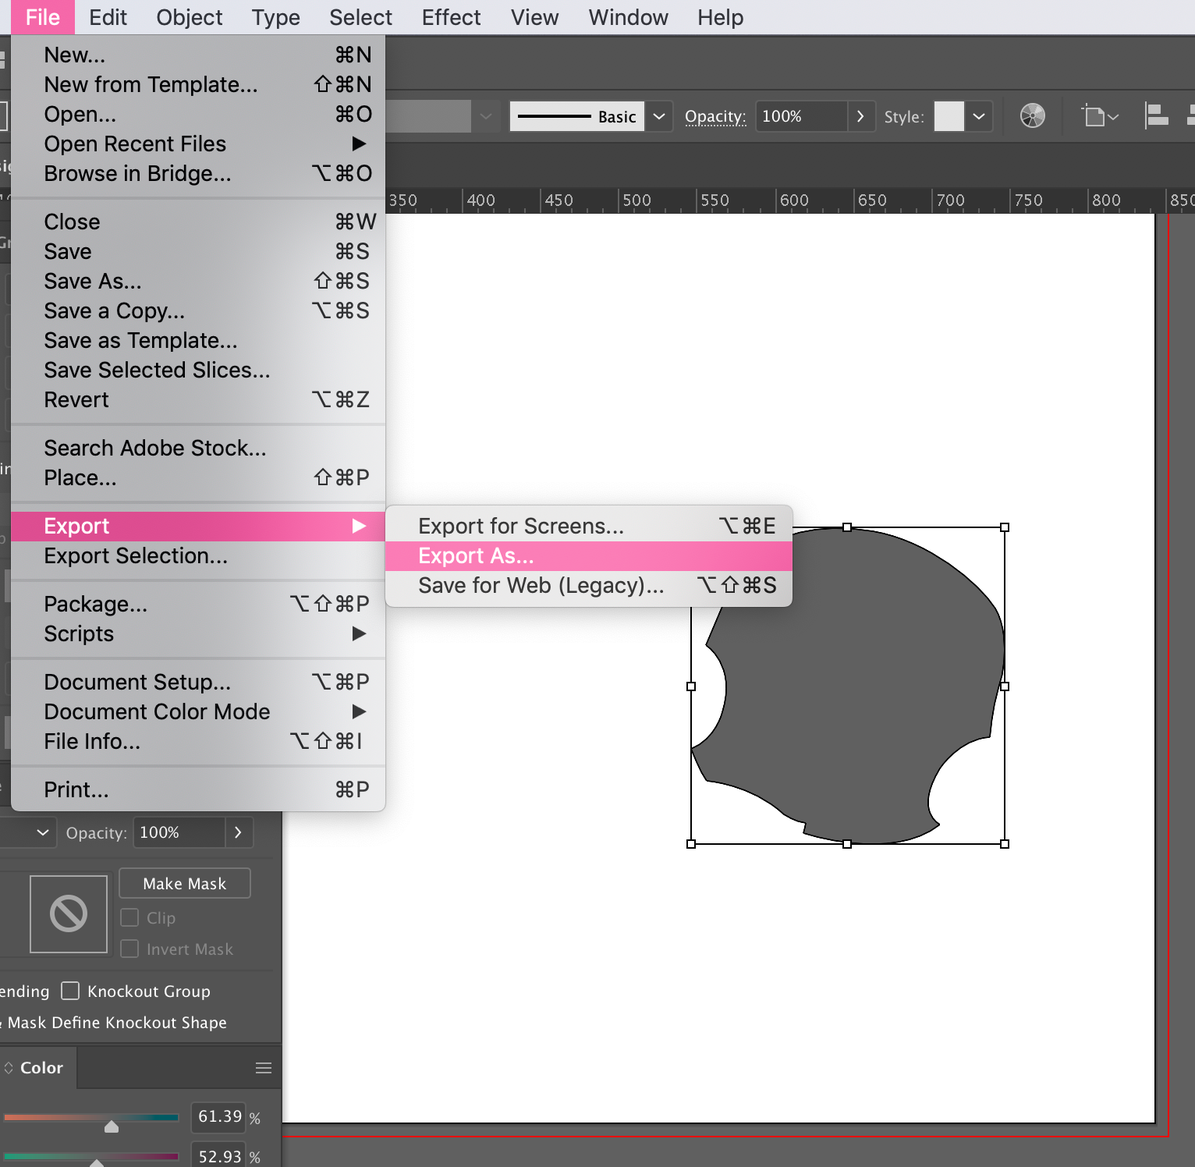
- Now your frame is ready to export as an SVG. To do this go to the File tab in the top menu and down to Export and Export As… Ensure that you do not save the SVG with the Use Artboard checked.
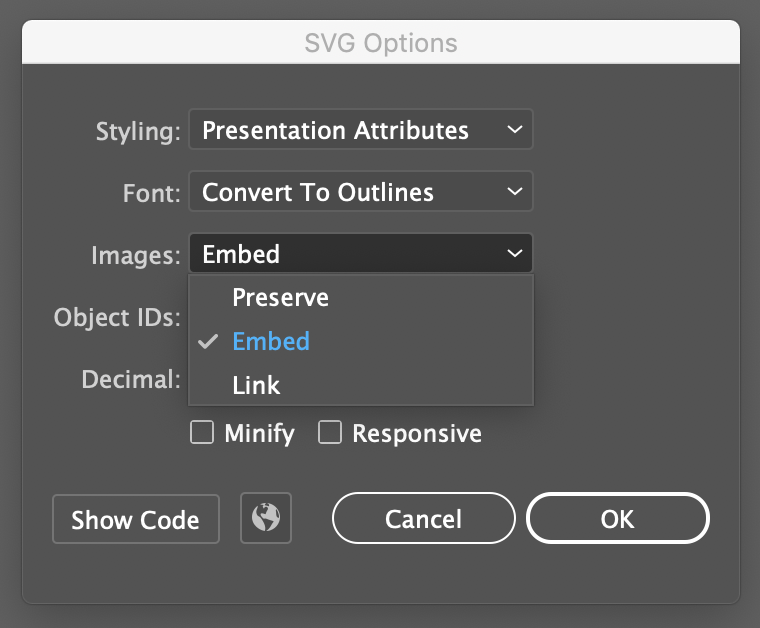
- This will bring up an SVG Options box. In this box ensure that the Images drop-down is set to Embed. Then press OK.
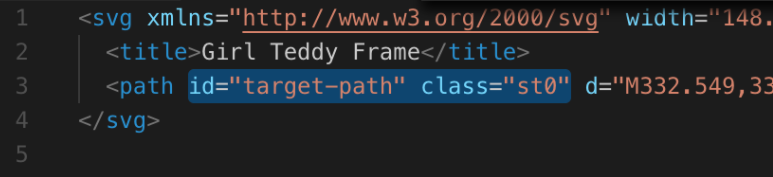
- Now your Frame is exported to your desired location. Now all you need to add is a small snippet of code so that our system will recognize the SVG as a frame. Open up any editor that can read XML such as Visual Studio Code and open your new frame. Near the top of the code, you should see the word path. Once you find this all you need to do is paste id=”target-path” after it and then save. (The code class=”st0″ will only be there if you have grouped multiple objects, before making a compound path.) Your Frame is now ready to upload.
- Now your Frame is ready, sign into your account on Spiff Hub and navigate to the Frame tab in assets and press Create New Asset in the top right. And voila you have created a Frame!
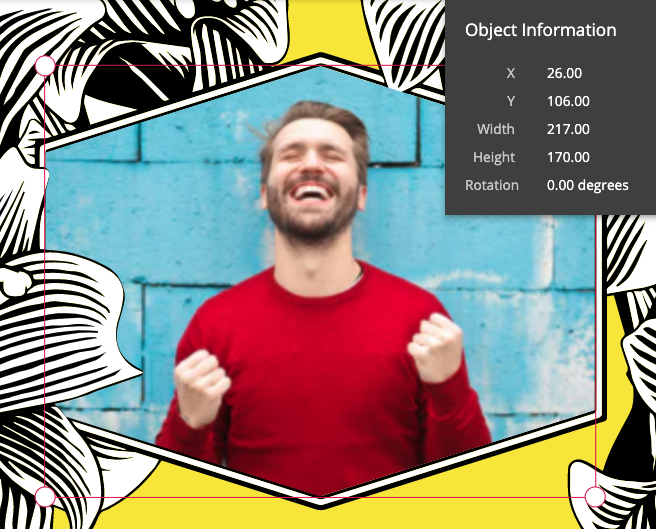
Note: If a Frame is less than 512x512px then the uploaded image will appear blurry in the Workflow, the print file however will match the resolution of the uploaded image. If you scale your frame proportionately larger when you create the SVG, you can set the Region to the correct size you want. The same Frame can be used and scaled for different Workflows. For example, if you are using a circle Frame in one workflow that is 2000x2000px, that same Frame can be used in another Workflow, and the region is set to 1000x1000px. Updating the x and y coordinates in the Region will move the position of the Frame.