This page outline how to set up product sharing as part of the MarketBridge solution outlined on https://spiffcommerce-homepage.vercel.app/solutions/drop-shipping-market-bridge
Product sharing allows you to build Spiff products and workflows on your Spiff partner and eCommerce store and share them with other eCommerce store pages that also have the Spiff plugin installed.
Example: The Personalised Drinks Company has multiple product already set up in Spiff and on their Shopify store. They have just secured a deal with a national retailer to start selling two of their exisiting products through their online store. The Personalised Drinks Company can share these two exisiting products with this retailer.
Sharing Products
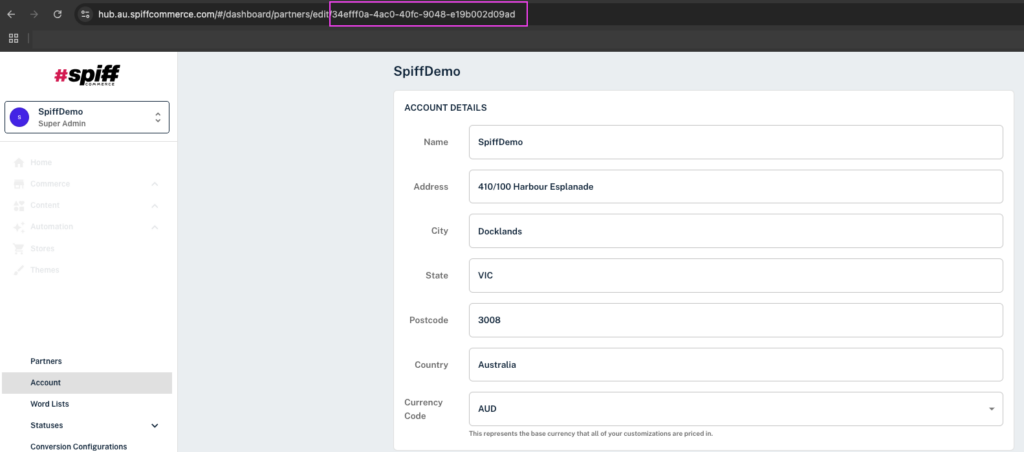
In order to share your product with another Spiff partner, you’ll first need their “Partner ID”. To find this, go to the receiving partner’s Spiff hub account, navigate to Settings > Account. Once here, you can copy the Partner Id found in the page URL.

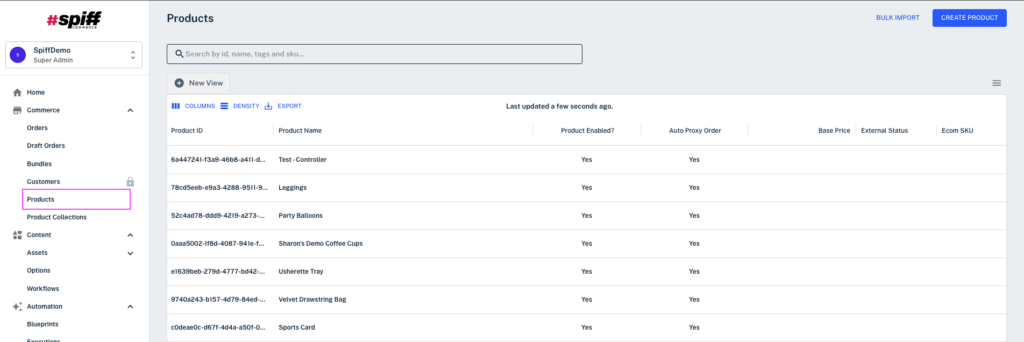
Once you have copied the receiving partner id, navigate to the product you wish to share via Commerce >Products.
Once on the selected product’s page, scroll down to “Product Share”. Once here paste the receiving partner id and click ‘INVITE’

Navigate back up to Product Integrations. If there is already a integration with the eCommerce store click the 3 dots and Edit. If there is no integration, you will need to add an integration.
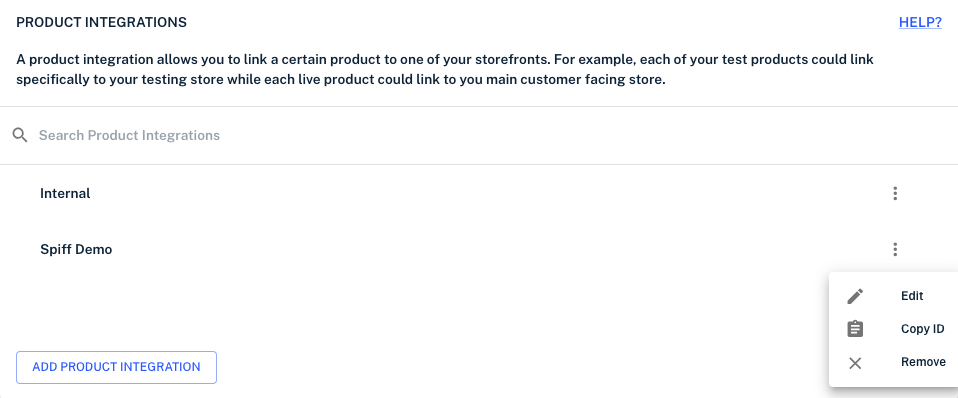
In addition to the External Product Id, you will need to add the External Variant Id. Tick the check box for “Proxy Store” – this links to the Auto Proxy Order check box in the Product Share section (see below)
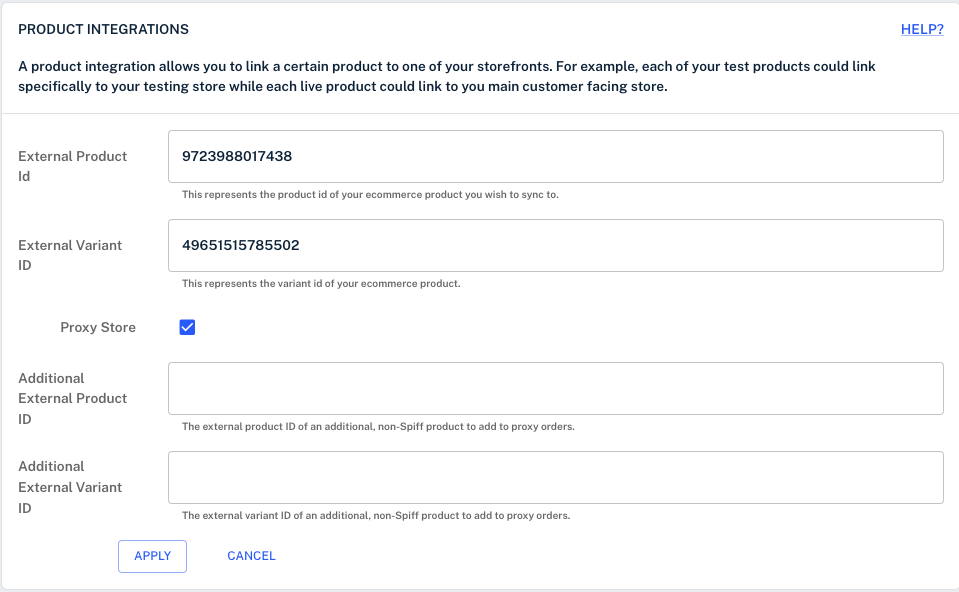
To get the External Variant Id, log into Shopify and find the product. In the URL add .json at the end and enter, this will bring up the product code. Use the find feature (Command / CRTL +F) to search for variant, and find the Product Variant id. Copy this id into the Spiff product page.

Now that you’ve hit the INVITE button, the connection is made. If you are a user on the receiving partners Spiff account, you can login and see the shared product. From the receiving partner product page, you will not have access to edit the workflow, product images, description etc. The product will need to be linked to a product on the receiving partners eCommerce.
Auto Proxy Order
When Auto Proxy Order is checked on, a proxy/duplicate order will be created in the originator Shopify store as well as the order placed on the receiving partner’s Shopify store.
This means you can fulfil, ship etc from your Shopify store. Spiff blueprints and flow executions can be used to update receiving partner’s Shopify store.

Once an order is placed
When an order is placed on the receiving partner’s store an UNPAID order is placed on the originator’s Spiff Hub orders page.
You have the control to mark the order as PAID to trigger any Spiff blueprints to create artwork, order emails etc. Therefore, allowing you to control which orders are processed further. Statuses and filters can be used to manage orders and where they are at.

Removing shared products
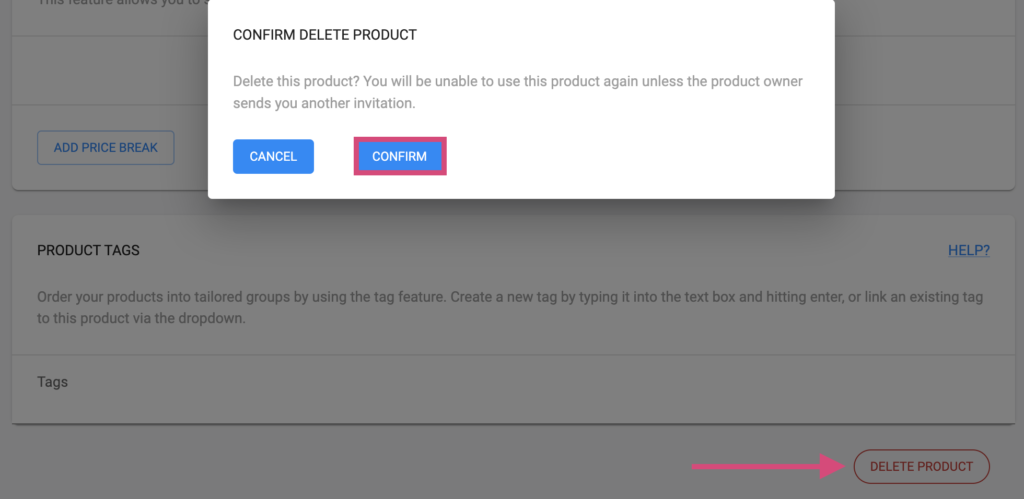
In some cases, you may want to remove shared products. To remove a shared product from a store, and break the connection to your main account, log into the receiving partner’s Spiff Hub and navigate to Commerce > Products. Scroll down to the bottom and click ‘Delete Product’ button. You will see a prompt letting you know that this will break the connection and the product will no longer be available in this store. Simply hit the ‘Confirm’ and the process will be complete.
