On the #SPIFF editor, our 3D assets must be uploaded in the ‘.GLB’ 3d model file format, this is explained in further detail in the Model Conversion page.
There are 3 essential steps to follow to set up your 3d model to work with your product and workflow. You must:
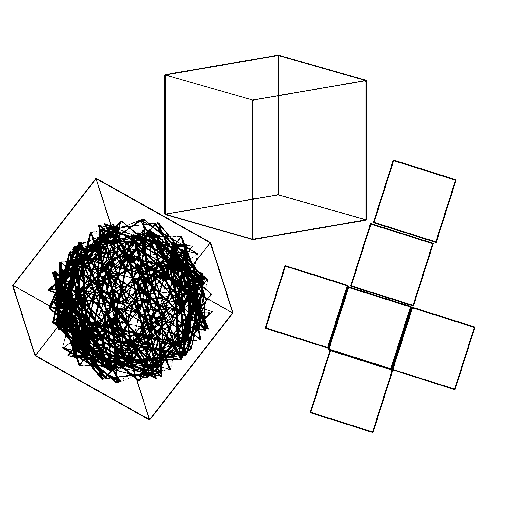
1.Import your 3d model file(s), like an .fbx or .obj file to a 3D modelling program or ‘toolset’ (Like “Blender”, which we use primarily and what we reference heavily in our documentation)
2.Create or adjust pre-existing materials (referred to as panels) to work in the GLB format.
3.UV unwrap our model or section of model in a way that makes sense contextually (a label on a bottle will be UV unwrapped to a label image file, for example)
For more information or to speak with a #SPIFF representative, don’t hesitate to contact us and we’ll be happy to help you along your 3D configuration journey!