What is a Region?
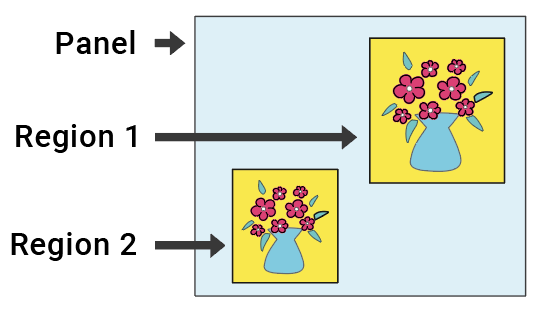
Regions in the Spiff platform act as an adjustable visual container for assets or variants added through design-type steps (excluding Question Steps and Model Steps) on your Workflow’s Canvas, or “Panel”, Regions will draw these assets in the specified locations on each panel required.
Depending on the chosen Step Type, you can position, scale, rotate, and layer each individual design element from each step as you need, our complex layering system also allows you to group step design elements into single layers and still organise them above or below one another via layer indexing.
Adding Regions
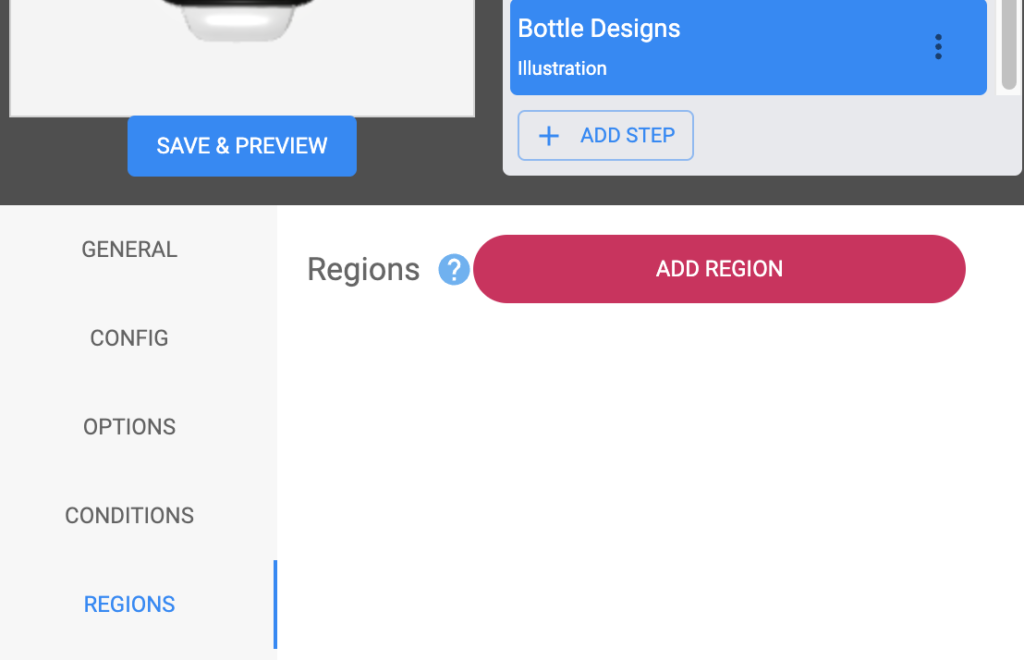
A region can be any square or rectangular shape and will sit anywhere within the panel if positioned correctly. To add regions, simply use the “ADD REGION” button found within the Regions tab of any applicable selected step. Once added, you can select your newly added region from the regions list and enter the appropriate information.
Adding panels
In order to draw your assets/variants, we first need to select and add the appropriate canvas or “Panel” that we’ll be using to our Region, be sure to create your applicable panels before creating regions for ease of use. To select your Region’s Panel, use the first dropdown in Region Configuration, found in the Regions tab of your applicable selected step.

Region Positions
Regions, like Panels, are defined in pixels, rather than inches or millimetres, if you have a pre-existing design in programs such as Illustrator or the like, you may have a design built in millimetres. This is an easy conversion, to do this you simply take the overall measurements, as well as the DPI (Resolution) information, and use a simple conversion platform. Or, within some design programs like Illustrator, you can change your ruler settings to pixels rather than measurements and find the information instantly.

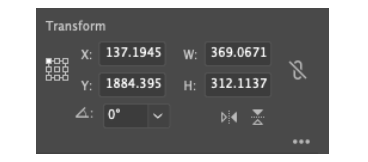
Regions in Spiff are positioned with the “X” (horizontal) and “Y” (vertical) values, which are entered in the corresponding labelled boxes within the region settings.
Where X is measured from the left side of the Panel or Canvas, Y is measured from the top. An X value of ‘100’, and a Y value of ’50’, for example, would add the new region 100 pixels away from the left side of the screen, and 50 pixels down from the top. (Measured to the top left corner of the region). See below how the region is measured from the top left corner.
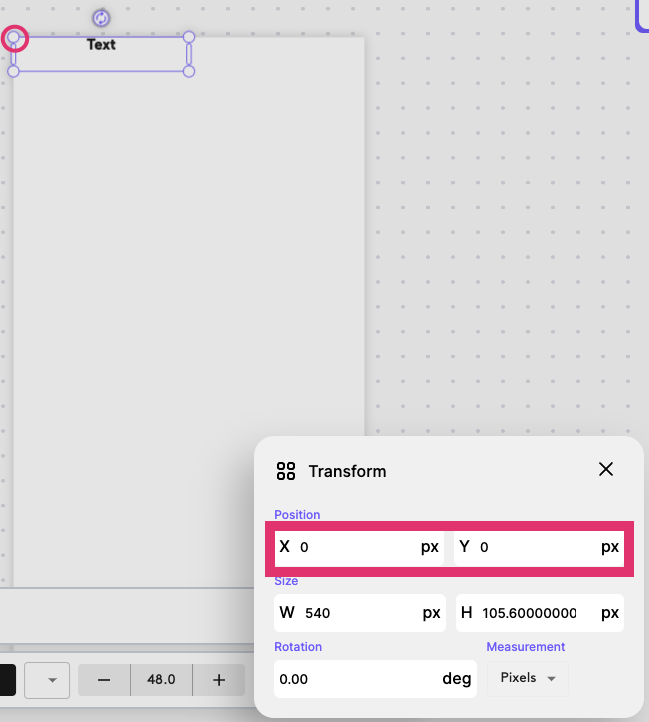
These values can be found in any design program if need be, you’ll see these same values allocated to an object (e.g. text box) in Adobe Illustrator or Photoshop, or any other similar programs. For example, in Adobe Illustrator your “Regions” would look something like the below image. You can use these values directly in your Region in Spiff, though rounding up to the nearest whole number is always optimal when dealing with pixels.
Layering your Regions
Regions are very powerful and require a little more than just adding your coordinates. You also need to set a layer index, add rotation (if required), and choose your panel. The layer index refers to which layer this step will be on, you can have as many layers as you like.
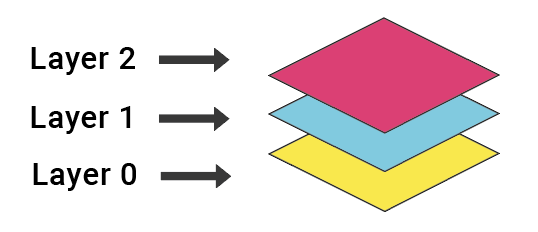
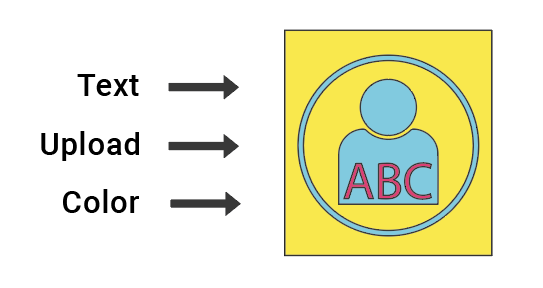
It’s important to keep your layers structured neatly or you may not be able to see everything you’ve added to your panel. For example:
- Layer 0 is a colour step where someone can choose the colour of their background
- Layer 1 is an upload step where someone can upload an image
- Layer 2 is a text step
Rotating Regions
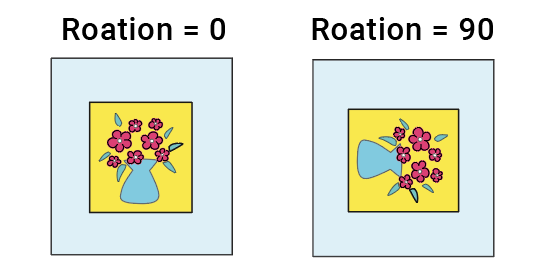
We can also set a rotation, from 0° to 360°, though negative value rotations can also be used without issue. Unlike the X and Y values, the rotation value adjusts from the centre point of the region, while still retaining the X and Y values.
Find Region Data with “Free Design”
Without using design platforms like Illustrator, Photoshop, or the like, Spiff users can alternatively use the “Free Design 2D editor” to find regions for their Workflow’s applicable steps. To do this, navigate to the Experience Config found in the Workflow Editor, and enable the Free Design toggle.

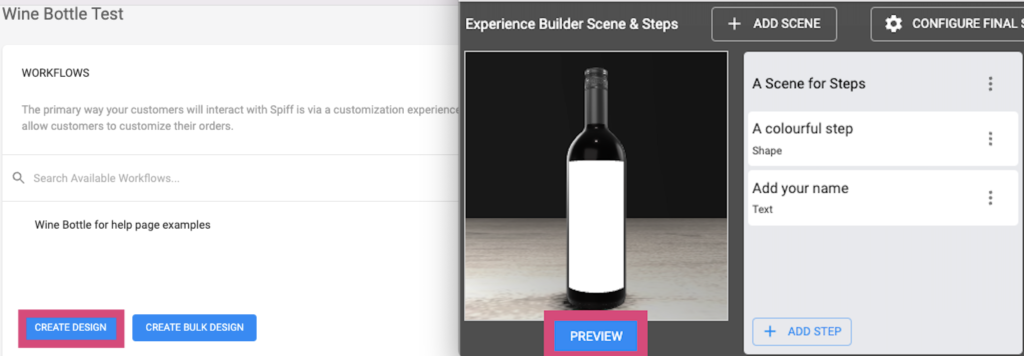
After enabling “Free Design”, exit the experience config with the same toggle as before. Now you can either click “Preview” under the internal 3D preview within the Workflow Editor or head back to the Product’s page and hit “create a design. “Create Design”.
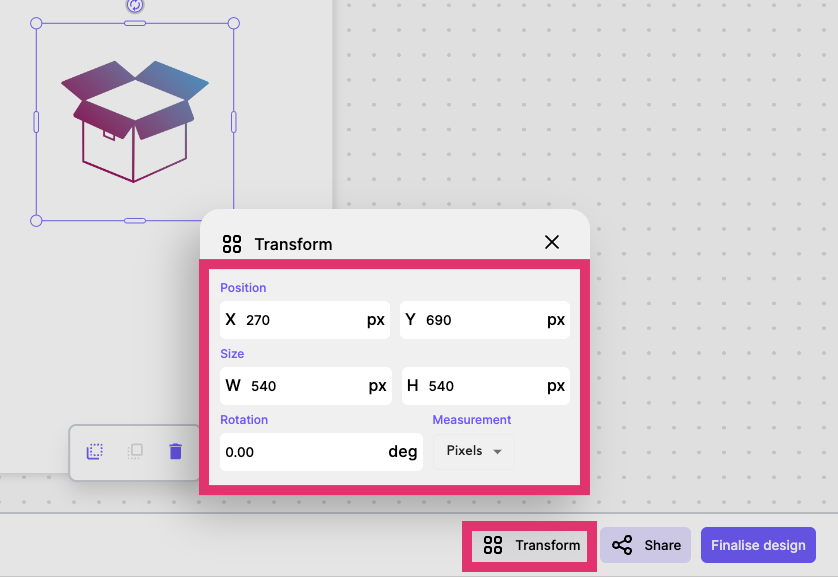
Now we can see the Free Design Editor. Now just add some text or upload an image and you can scale, position, and rotate it where you’d like your applicable asset to sit from your applicable step. Click on the new image or text to select it, adjust it to where you need it, and use the “Transform” button to find all your relevant information. As you are building your overall designs, it’s helpful to check them in this editor.
