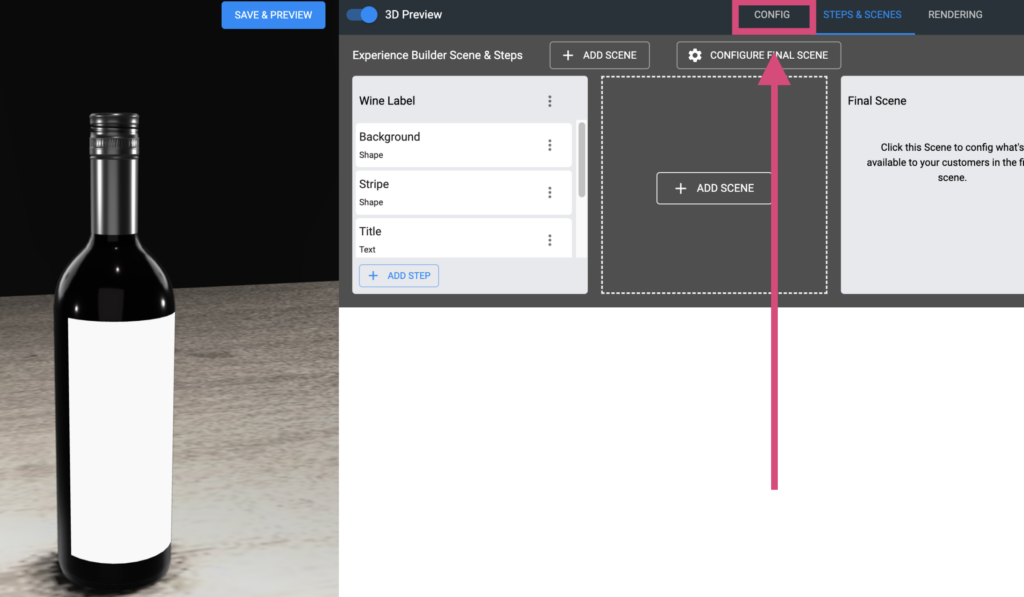
Found within the workflow editor, the Config area not only gives you access to vital components of the workflow like the ‘Panels’, but it also enables you to completely change how your products will appear to your customers with background colours, lighting configurations, and camera control settings for 3D experiences.
General Settings
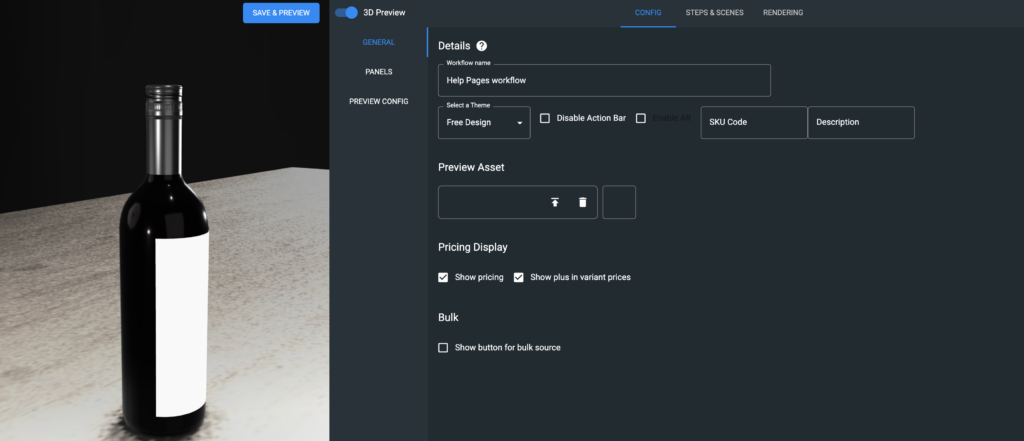
General settings within the Experience config section allow you to change themes, SKU information, and Descriptions. You can further add Workflow images and change the name of the workflow. (Though the workflow name is always accessible for change regardless of experience config.)
Themes
In the top section within experience config, you’ll find general workflow settings. In the left-most box, you can change the ‘Theme’ for this workflow, which will display the experience exactly how you want it. Themes can be created with simple things like overall theme colours and fonts via Content>Themes on the Spiff Hub, though overall UI-changing themes like ‘Bee-line’ for example, are considered a Spiff add-on.
Action Bar
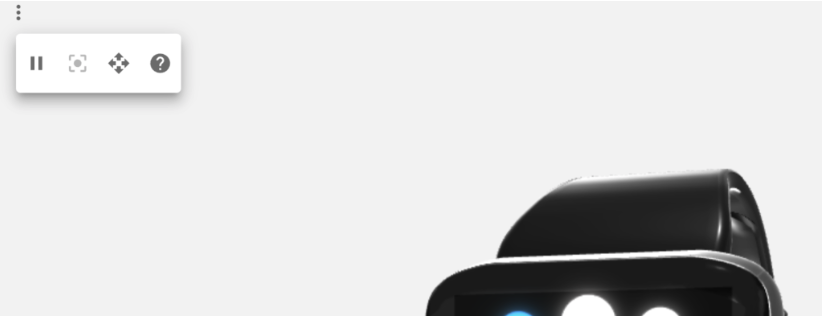
Next, you can choose whether the ‘Action Bar’ will be displayed in the customer experience. The action bar offers simple controls in the 3D preview(s) displayed to the customers. Customers can access the action bar via the kebab menu icon (three-dot menu) in the top left. See Below. When disabled, this menu icon will no longer appear.
SKU Code
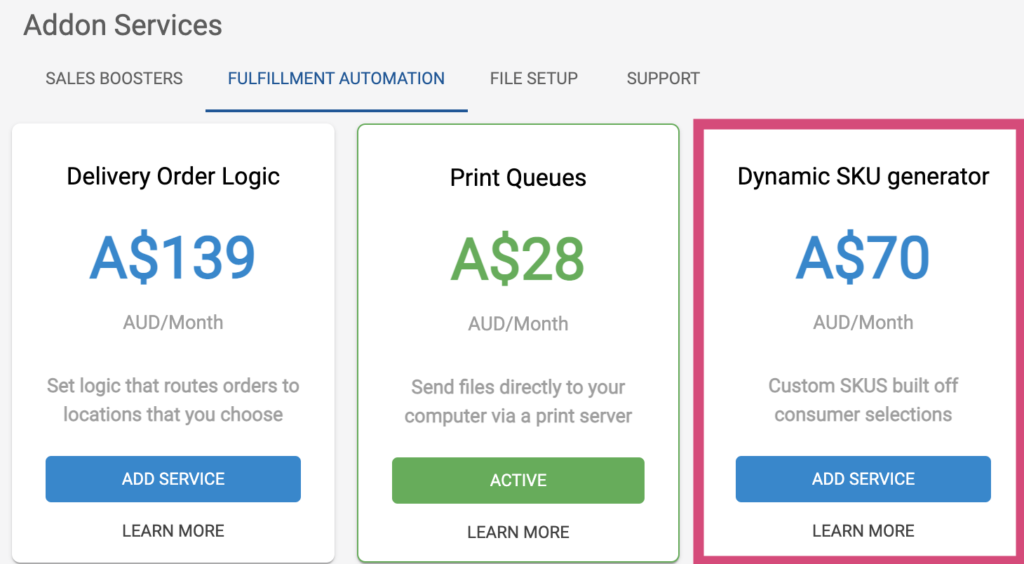
The SKU code data found within your workflow’s experience config is used in conjunction with the “Dynamic SKU Generator” Addon as well as downstream automation and fulfilment configurations that can be set up for you by a Spiff team member. Navigate to Partner>Billing on the Spiff Hub and view the addon under ‘Fulfilment Automation’
Description
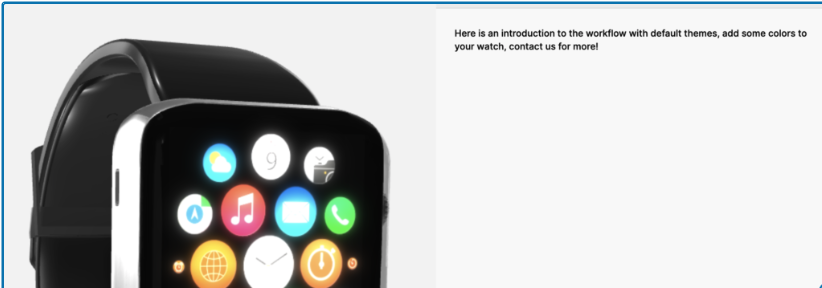
The workflow ‘Description’, used with the default theme, allows you to introduce the customer to the experiences you build. This serves as a helpful way to describe exactly what it is that the customer will be doing throughout their personalisation journey, and can further provide you with the opportunity to add some helpful tips/information related to the overall experience. See below.
Pricing Display
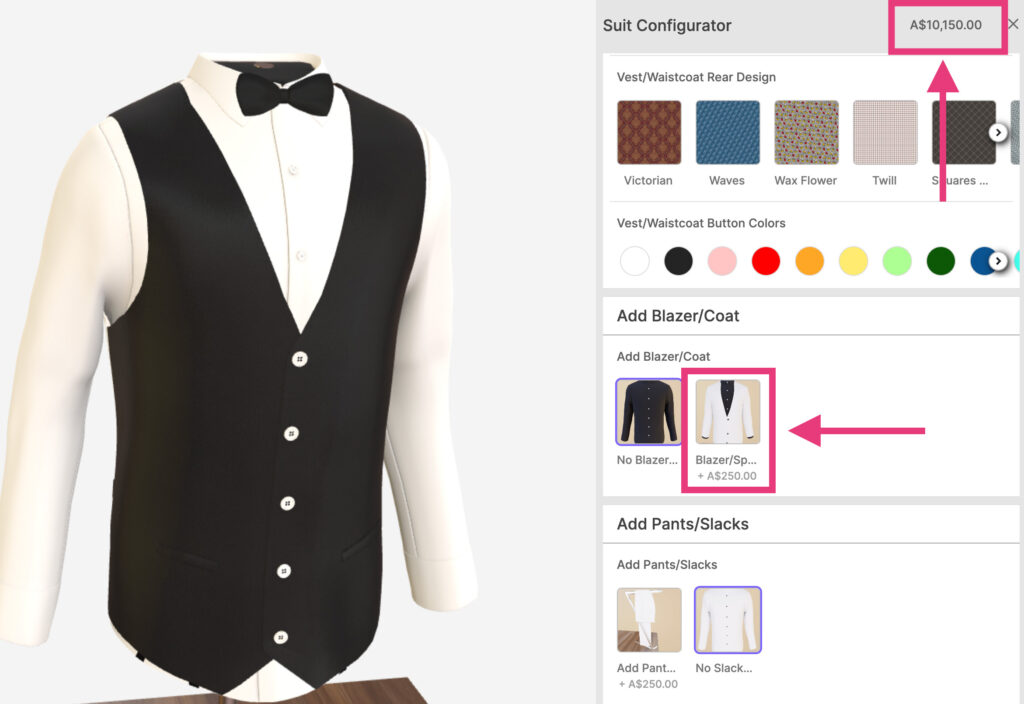
The toggle found within ‘Pricing Display’ allows you to show or hide the overall price, as well as individual variant prices within steps. Without this, no prices will be displayed to the customer until the experience has been completed and the product has been added to the cart.

Panels
This is where panels are added and edited. Panels act as an overall canvas for all of the assets that your workflow’s steps will add. See “Panels” for more information.

Preview Config
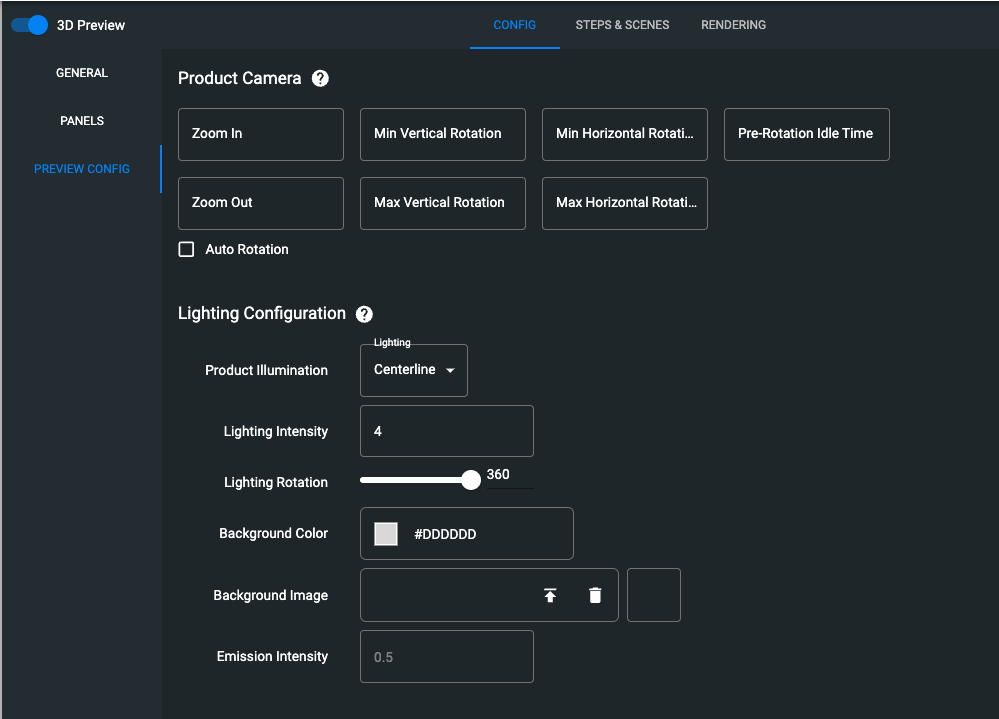
In the Preview Config panel, you will find settings related to the look and feel of your customer experience, with camera controls, rotation settings, lighting controls and background settings.
Product Camera
The customers will view your 3D products and the 3D Preview itself via the product camera. In this section, you can add limitations to the view rotations, and control exactly how far they can zoom in and out of the product’s 3D model.
Zoom in/out is measured as a relative value based on the overall scale of the 3D model and lets you control how far the customer can zoom. The Vertical and Horizontal rotation values are measured in degrees, from 0-360. Here you can set the minimum and maximum rotations allowed.

In the example below, the merchant only wants the customer to rotate the 3D view/Camera around the product horizontally so that the customer can spin the product, but not move the view behind it where the vertical rotation would allow. With no limits, your customers can freely rotate the view around the entire product.

Pre-Rotation time is used in conjunction with the ‘Auto-Rotation’ toggle, which enables an automatic rotation of the product. This adds to the experience and shows the customer that the experience is 3D, so they will interact with the product, as opposed to what may appear like a static product image. The Pre-Rotation time will wait (In Seconds) until you want the product to begin auto-rotation.
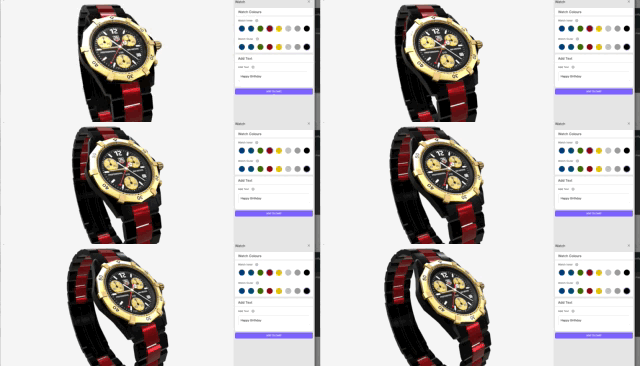
Lighting Configuration
Here you can control how the 3D experience will appear to your customers, you can change the overall background colour that sits behind the 3D model, and adjust the ‘Illumination’ of your product (Essentially the lighting assets that will add reflections and light sources to your model) and background images.
Product Illumination
Currently provided by Spiff, the product illumination will add specific light sources and reflections to your 3D products to present them in various ways. For specific products, you may find that specific lighting works. For relatively reflective products that are primarily created with metals, you may use the ‘Studio’ lighting, or ‘Focus’.
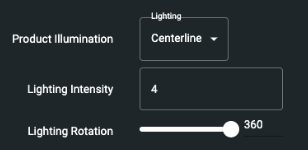
Lighting Intensity
This value will determine the strength and effect that the product illumination has in the scene, and how powerful the lighting aspects are. If the lighting is too dark you could use this to adjust it a little darker or a little brighter
Lighting Rotation
Being a skybox, the product illumination asset can be rotated, If you find that the lighting to the side of the model should be in front, you could use this to set it exactly where you need it.

Background Color
The background colour option allows you to add colour to the background behind your 3D model. Simply click into the background colour adjustment box and choose the colour you desire.
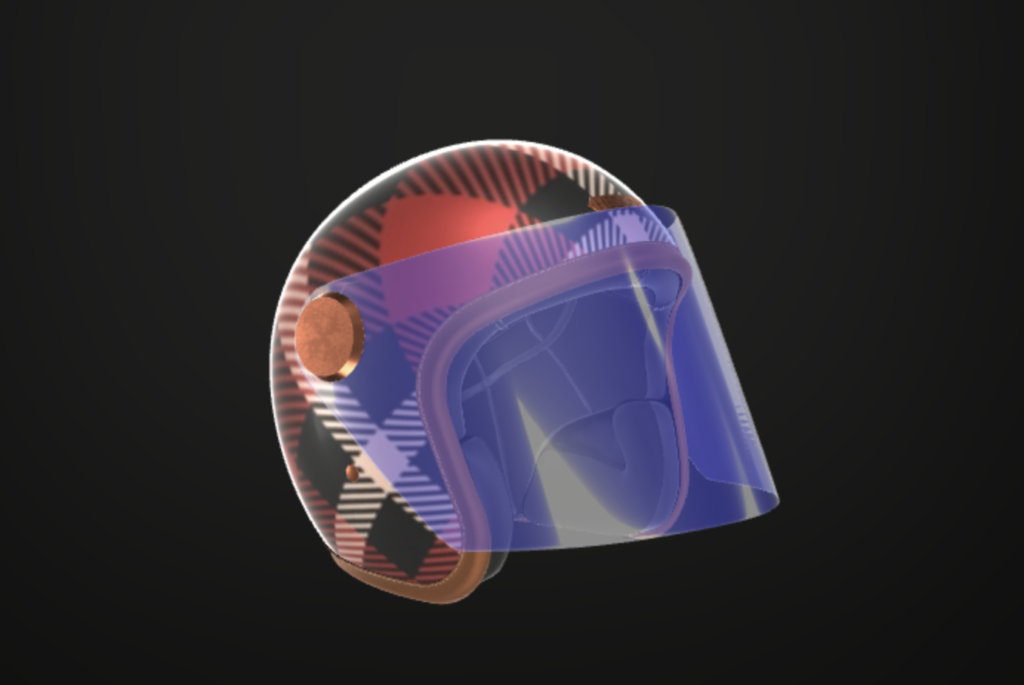
Background Image
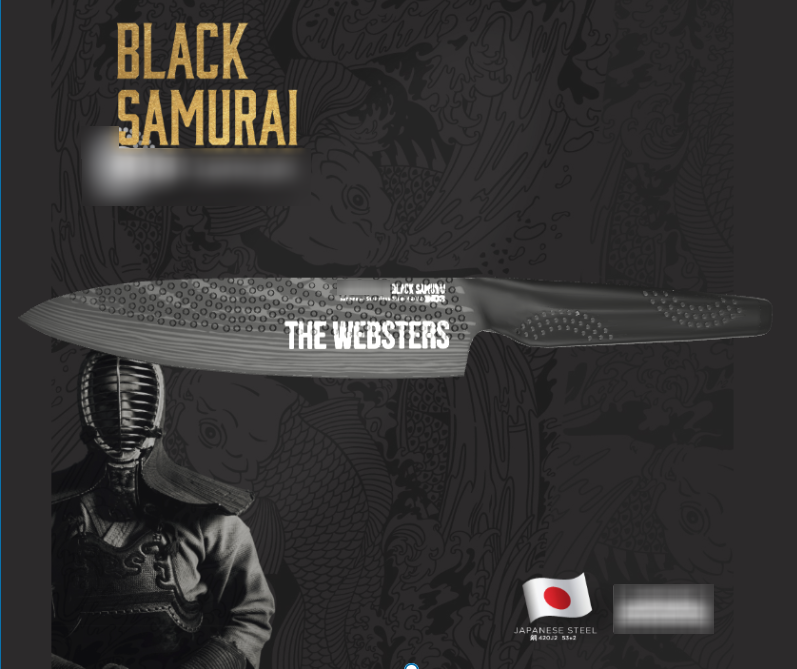
Background images enable you to display any image behind the product’s 3D model in the customer experience, as opposed to just using a plain background colour. Background images use ‘Image’ assets, upload via Content>Assets>Images on the Spiff Hub. See below for an example of how a background image is used, displaying behind a 3D model of a personalised kitchen knife.
Emission Intensity
This setting controls the look of Emissive materials, with more intensity, the edges of any emissive object will glow more and more. This is useful for screens, electronics, and anything else that acts as a source of light. Take note, The model or material must have emission set for this setting to make a difference.
